Plesk Single Server Post-install Configuration
Once Plesk is installed, you need to do a little bit of setting up before you can get to work. The following instructions describe the process.
Log In to Plesk for the First Time
Open the following URL in your browser to begin:
https://<SERVER_NAME_OR_IP_ADDRESS>:8443
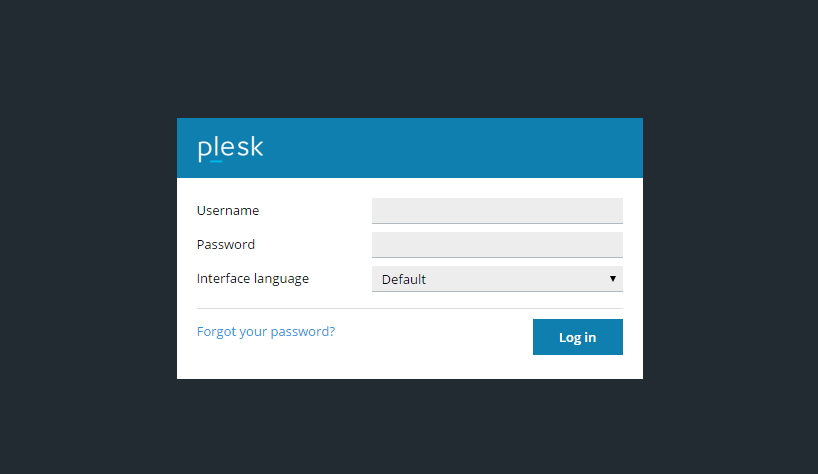
This is the Plesk login page. When logging in for the first time, use the system’s power user name and password.
| Linux | Windows |
|---|---|
|
Username: root Password: <YOUR_SERVER_ROOT_PASSWORD> |
Username: Administrator Password: <YOUR_SERVER_ADMINISTRATOR_PASSWORD> |
Then you will be redirected to the Plesk welcome screen. The way it looks and the information it asks you to provide differs between Plesk Onyx 17.5 and Plesk Onyx 17.8.
Plesk Onyx 17.5
Choose the Interface Type
To better suit the needs of different types of users, Plesk offers two different user interface types, called views:
- Service Provider view is designed to suit the needs of traditional hosting providers who expect to serve a large number of customers.
- Power User view is best for someone who uses Plesk for personal needs, for example, managing a mail server or running a personal website.
The View Selector page lists a number of different roles. For each role, one of the views is suggested as the more appropriate. However, you are free to select any view or any role, or select Other if you are not sure.
Note: The view can be changed later.
For detailed description of the different views, see The Plesk GUI section of Plesk Administrator’s Guide.
Configure the Server Hostname and IP Address
Make sure that your server hostname is a fully qualified domain name (FQDN).
Plesk uses one of the IP addresses for some of its services. Choose the IP address that will be used. It can be one of the existing IP addresses, or you can add a new one.
Change the Plesk Administrator Account Password
For security reasons, a random password is generated for the Plesk administrator account when Plesk is installed. Provide the new password at this time. The next time you access the Plesk administrator account interface, use the user name ‘admin’ and the password you enter now.
Enter the Plesk Administrator Information
Provide the personal information and contact details for the administrator account.
Accept the End User Agreement
Read and accept the end user agreement to proceed.
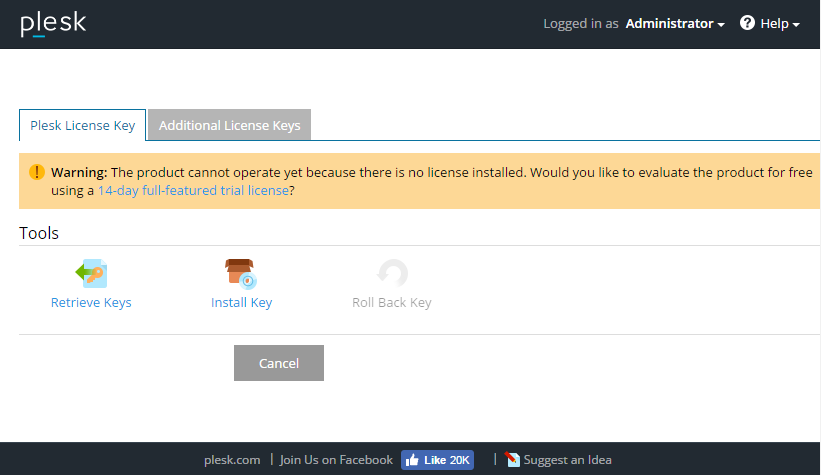
Install a Product License Key
Plesk is installed without a product license. Until any product license key is installed, Plesk interface is not accessible other than the license key installation window.
Note: Some vendors may provide Plesk with a product license key already installed.
If you wish to evaluate Plesk functionality before you purchase a license, you can download a trial product license key, which enables full functionality for 14 days. You can download it here: Download Your Free Plesk Trial.
To obtain a regular product license, visit the Plans & Pricing section at www.plesk.com. Once you purchase the license key, you will receive an activation email with your activation code and a license key file. You can install a Plesk license key either by entering the activation code or by uploading the file from this email.
Once the product license key is installed, Plesk is completely ready to work.
Plesk Onyx 17.8
Enter the Plesk Administrator Information
Provide the administrator contact name and email.
Change the Plesk Administrator Account Password
For security reasons, a random password is generated for the Plesk administrator account when Plesk is installed. Provide the new password at this time. The next time you access the Plesk administrator account interface, use the user name ‘admin’ and the password you enter now.
Select Your License Type
You can choose between a paid license or a full-featured trial license.
If you have already purchased a Plesk license, paste the activation code you received here. If not, you can buy a new license in our Online Store. You will receive an activation email with your activation code.
Before purchasing a paid license, you can evaluate Plesk for 14 days trying out Plesk Onyx Web Pro edition. To do so, select “Proceed with a full-featured trial license”.
Accept the End User Agreement
Read and accept the end user agreement to proceed.
Now Plesk is completely ready to work.