Installing Plesk on Amazon EC2
Provided Product Configurations
The following Plesk configurations are available on AWS Marketplace.
| Plesk | Components set |
|---|---|
| Plesk Obsidian on CentOS 7 (WebHost) | Recommended set* |
| Plesk Obsidian on Ubuntu 18.04 (WebHost) | Recommended set* |
| Plesk Onyx on Windows 2012 R2 (WebHost) | Recommended set* |
| Plesk Obsidian on CentOS 7 (BYOL) | Recommended set* (WordPress Toolkit, Advisor, Let’s Encrypt, Git, the resctrl utility, Docker are not installed by default but can be installed later) |
| Plesk Obsidian on Ubuntu 18.04 (BYOL) | Recommended set* (WordPress Toolkit, Advisor, Let’s Encrypt, Git, the resctrl utility, Docker are not installed by default but can be installed later) |
| Plesk Onyx on Windows 2012 R2 (BYOL) | Recommended set* (WordPress Toolkit, Advisor, Let’s Encrypt, Git, the resctrl utility, Docker are not installed by default but can be installed later) |
| Plesk Obsidian Business & Collaboration Edition | See here for the list of components. |
| Plesk Obsidian WordPress Edition | See here for the list of components. |
| Plesk Obsidian Web Admin Edition SE (Ubuntu 18.04) | Recommended set* (Fail2Ban, ModSecurity, Plesk Firewall, and WordPress Toolkit are installed by default). |
Note: *The Recommended components set includes all components necessary for web hosting (including the web server, a mail server, a database server, and so on), plus the most popular and widely used features. If you are not sure which image to choose (Plesk WebHost or BYOL), see the topic Choosing Between Plesk WebHost and BYOL.
Note: ** WordPress Toolkit in Plesk Web Admin Edition SE provides only basic functionality. To use premium WordPress features, upgrade your Plesk license to Web Pro or Web Host Edition.
Choosing the Type of Amazon Instance
Plesk provides Amazon Machine Images (AMIs) for the following EC2 instances: T2 and M3 (with a few exceptions), and M4. These are all general purpose instances that are well-suited for a variety of hosting purposes.
When choosing an instance for use with Plesk, pay close attention to the amount of RAM it comes with. The more web sites you intend to host, the more traffic the hosted web sites generate, the more RAM you will need. Refer to Plesk System Requirements to estimate the amount of RAM your setup will require.
- If you are considering trying out Plesk on Amazon, you can choose T2.micro. It provides sufficient resources for testing purposes and comes as a part of the AWS Free Tier.
- If you run few (1–10) web sites with small load, T2.micro should also be suitable.
- A server used for shared hosting used to host 200-300 low traffic websites should use a T2.medium or an M3.medium instance.
- When choosing an instance for high traffic websites, analyze the website’s traffic carefully. Servers with frequently accessed web sites may require up to 1GB RAM per website.
- If you are not sure what instance to choose, we recommend using the M3.medium instance. It suits most users’ needs and is used for hosting Plesk most frequently.
Installing Plesk on Amazon EC2
In order to simplify installing on Amazon, Plesk provides a variety of AMIs (Amazon Machine Images) with the most popular configurations. Thus, no actual installation is required. In Amazon terminology, the user needs to launch the instance from the appropriate AMI. All available AMIs can be found at AWS Marketplace.
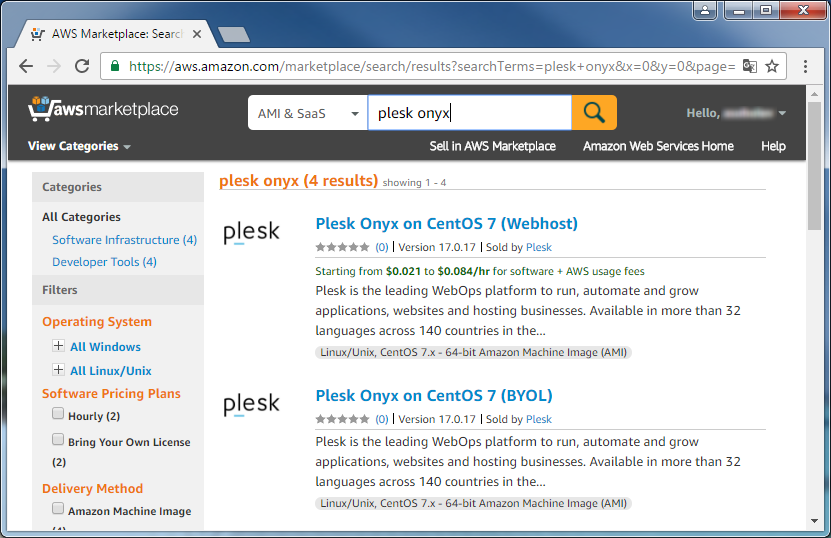
For instructions on how to launch an instance from a Plesk-published AMI, see Launching an AWS Marketplace Instance in AWS Documentation.
When configuring an instance, you will be asked to configure the following options:
- Instance type: choose the server configuration that best suits your needs. For the details on different types of instances, see Instance Types.
- Storage space: the default allocated storage size is 10 GB for Linux and 30 GB for Windows instances. You can specify the necessary storage size when launching a new instance or change it after deployment.
- Security groups: a security group is created based on Plesk-recommended specifications. You can configure your own security group based on your requirements. Keep in mind that Plesk has its own requirements concerning open ports, see KB 391: Which Ports Need To Be Opened for all Plesk Services to Work with a Firewall?
- Key pairs: choose or create a key pair to be used for authentication when accessing the instance. For information and instructions on creating key pairs, see Amazon EC2 Key Pairs.
Note: Keep your private key safe. If you lose the private key, you may not be able to regain access to your instance.
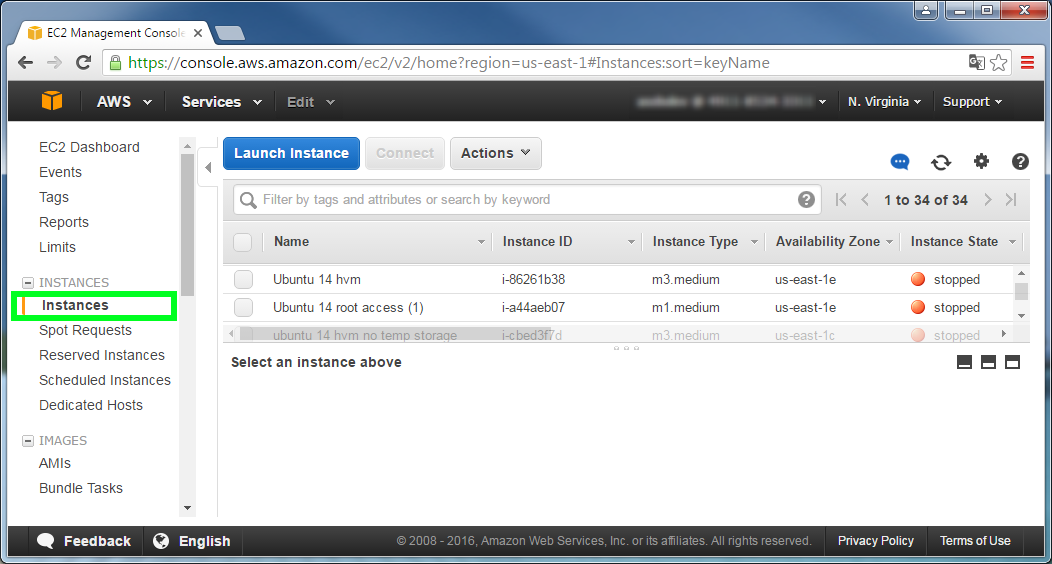
You can view status and manage all your instances in your AWS Management Console.
Billing
Your Amazon instance is billed on hourly basis, starting when it boots up and ending with the instance termination. You may choose how to pay for the Plesk license:
-
If you select the Bring Your Own License (BYOL) Plesk AMI, your hourly charge for the Amazon instance will be lower but you need to purchase and install the Plesk product license yourself
-
If you choose the non-BYOL AMI, the cost of license will be included into the hourly charge for the instance.
Note: On non-BYOL AMIs, a Plesk license is automatically generated and installed right after the instance deploy. If that did not happen, contact “Licensing and Purchase support”.
When the instance is stopped, no hourly usage fees or data transfer fees are charged, however, you are still charged for the storage for any Amazon EBS volumes.
For details on Amazon EC2 Instance usage fees, see Amazon EC2 Pricing.
Assigning an Elastic IP address
Each time an instance is restarted it is assigned new public and private IP addresses dynamically. If you wish to have a static IP address to associate with your instance, obtain an Elastic IP address and assign it to your instance once you create it. The elastic IP address is associated with your AWS account, so you can assign it to your instance at any time.
After assigning an elastic IP address to your instance, the instance must be rebooted. See Reboot Your Instance for instructions. If you do not with to reboot the instance, there is another way. Instead, you can execute the following commands:
# /etc/init.d/psa stopall
# /etc/init.d/psa start
# /etc/rc.local
No additional configuration steps are required when assigning or changing the IP address.
Note: When an instance is stopped, the elastic IP address is unassigned from it. You will need to assign it anew when you restart a stopped instance.
For information on using elastic IP addresses, see Elastic IP Addresses. Also, see Amazon EC2 Pricing for information on fees for using elastic IP addresses.
Accessing Plesk for the first time
To log in to Plesk for the first time, you need to generate a one-time login link. Browse the generated URL to log in to Plesk and set an administrator password. You will then be able to log in to Plesk using that password.
For the Linux instance:
-
Access the instance
Use appropriate software to access command line on instance.
-
Connecting to Your Linux Instance from Windows Using PuTTY
Note: To log in via SSH, use the ‘ubuntu’ user name for Ubuntu 16.04 and ‘centos’ for CentOS 7.
-
Run the command
# sudo plesk login | grep -v ec2.internalA one-time login link will be generated. It can be used to access Plesk as an administrator.
For the Windows instance:
-
Access the instance
Log in using RDP as Administrator. Get the Administrator’s password in your AWS Console using Get Windows Password action.
-
Run the command
C:\>plesk bin admin.exe --get-login-linkA one-time login link will be generated. It can be used to access Plesk as an administrator.
Note: Make sure you use the link for the external IP.
Post-install Configuration on an Amazon Instance
Plesk installed on an Amazon instance is configured the same way as on any other kind of server with a few additional provisions, as follows.
- IP address: the internal IP address is detected automatically. If you want to host different customers on your Plesk, set the IP address as shared.
Warning: Never register your instance’s public IP address in Plesk. Only the internal IP address must be registered.
- Hostname: It is recommended that you use a domain name that you control, or one controlled by the Amazon instance’s Public DNS that will be constant in the case of an Elastic IP.
Note: Some spam filters (including the default Plesk greylisting) consider mail auto-generated by Amazon hostnames as spam.
It is recommended that you instruct the server to serve any subdomain’s DNS records in separate DNS zones for every subdomain:
On Linux:
# /usr/local/psa/bin/server_pref -u -subdomain-dns-zone own
On Windows:
C:\>"%plesk_cli%\server_pref.exe" -u -subdomain-dns-zone own
- Administrator’s password
For detailed instructions on Plesk post-install configuration, see Post-install Configuration on a Single Server. You may also find our guide to migrating to Plesk on AWS from Plesk, cPanel, and DirectAdmin useful.