Adding and Removing Database Servers
Adding External Database Servers to Plesk
To use external database servers with your hosting server:
-
Set up an external database server:
-
Install MySQL, PostgreSQL, or Microsoft SQL software.
For the supported versions, see Release Notes.
-
Set up the database administrator’s account.
-
Enable network access to the database server.
-
-
Log in to Plesk.
-
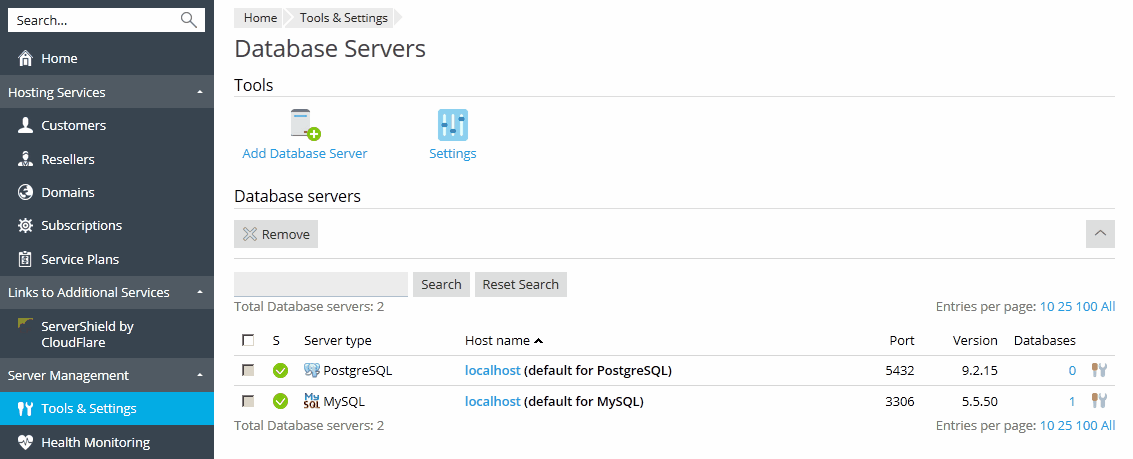
Go to Tools & Settings > Database Servers, and click Add Database Server.

-
Specify the properties of the database server:
-
Specify a database server engine in the Database server type box. The list contains database engines supported by your licence key. You can check what components are supported on the Tools & Settings > Licence Management page.
Note: To use Microsoft SQL Server with Plesk, you need to obtain Plesk Power Pack.
Note that before using a database server engine you should install it in Tools & Settings > Updates and Upgrades > Add/Remove Components, unless it was installed with Plesk.
-
Specify the hostname or IP address of the database server.
-
Specify the port number the database server is listening on. This option is available only for MySQL. By default, MySQL servers listen on port 3306. You can leave the Port number box blank, if your MySQL database server is listening on the default port.
Note: Do not enter the value for MySQL server port equal to 8306, because it is used by Plesk for communication with its internal database.
-
Specify which database type is running on the database server.
-
To make this database server default for hosting customers’ databases, select the Use this server as default for MySQL checkbox. If you have a MS SQL database server, select the checkbox Use this server as default for MS SQL.
-
Specify the database server administrator’s login name and password.
-
-
Click OK.
If you have registered a SQL Server, you may want to provide its backup settings. For configuring the backup settings of a remote SQL Server, refer to Configuring Backup Settings for Remote SQL Servers.
Removing Database Servers from Plesk
You can remove a database server only if it is not the default server and there are no databases on it.
To unregister a database server from Plesk:
- Go to Tools & Settings > Database Servers.
- Select the checkbox to the right of the database server’s host name.
- Click Remove.
- Confirm the operation and click OK.
To unregister a database server that has databases or is assigned as default for hosting customers’ databases:
- Delete databases from the database server:
- Go to Tools & Settings > Database Servers.
- Click the host name of the database server that you wish to unregister from Plesk.
- Select the checkbox in the upper left corner of the list to select all databases.
- Click Remove.
- Confirm removal and click OK.
- Make another database server default:
- Click the Database servers shortcut in the path bar at the top of the screen.
- Click the host name of a database server that you wish to make default. This should be of the same database server type (MySQL or SQL Server) as the one you are going to delete.
- Click Preferences and select the Use this server as default for MySQL checkbox. If you have a SQL Server, select the Use this server as default for MS SQL checkbox.
- Click OK.
- Return to the list of database servers (Tools & Settings > Database Servers).
- Select a checkbox corresponding to the database server that you no longer need.
- Click Remove.
- Confirm the operation and click OK.
Note: You cannot remove databases used by web applications this way. To remove them, you should first remove the respective web applications from the sites that use them.