Finalizing Service Node Connection
At this stage, all relevant data and settings are synchronized from the management node to the new service node, and the service node becomes a fully functional part of the Multi Server.
-
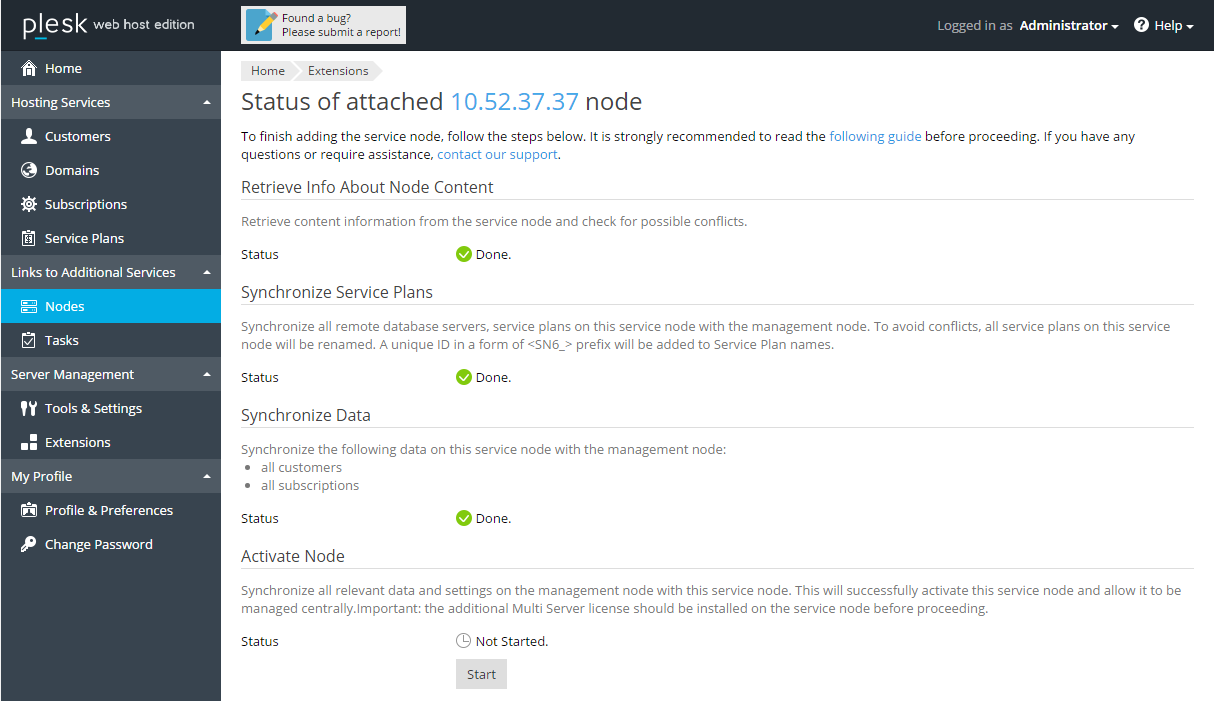
Make sure all the data synchronization tasks have been completed without errors, and that the status in the Synchronize Data section is set to Done.

-
Click Start in the Activate Node section to activate this new service node.
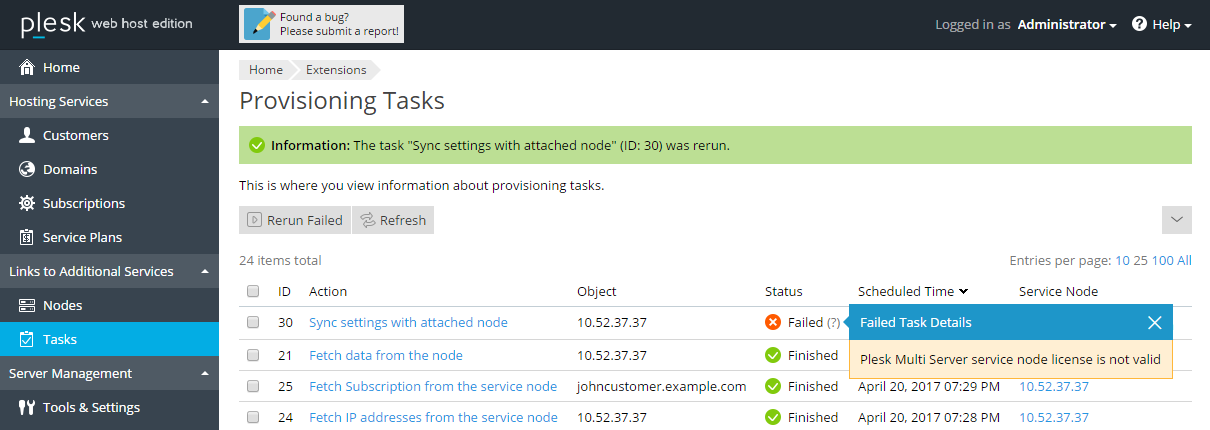
Note that if you have not yet installed the Plesk Multi Server add-on license on the new service node, the task of activating the service node will fail.
To correct this, go to the attached Plesk server and install the Plesk Multi Server add-on license. Then, restart the task either from the Provisioning Tasks window or from the Status of attached node window.
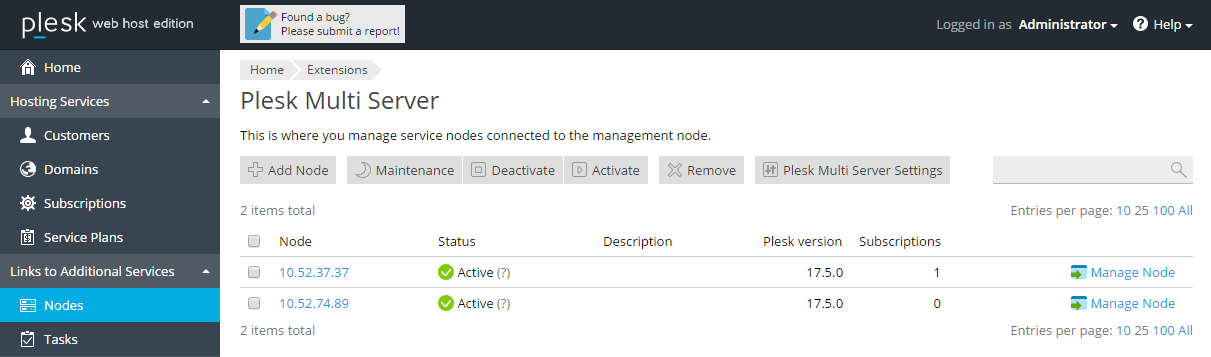
The service node becomes active, and from now on, participates in the provisioning load balancing.
The following conditions apply now:
- The web sites provisioned on the service node can be accessed and managed through the Multi Server interface.
- New subscriptions can be provisioned on the new service node.
The process of adding a working Plesk server as a Multi Server service node is now complete.