(Plesk for Linux) Enabling SSH Access for Website Users
Résumé: Some people may prefer to make changes to their websites using the command line. In Plesk for Linux, it is possible to give website system users chrooted or non-chrooted SSH access to the Plesk server.
In this topic, you will learn how to enable SSH access for individual websites in Plesk for Linux.
Enabling SSH Access for a Website
By default, the system users of websites do not have the permission to log in to the Plesk server via SSH. Attempts to do so will result in an SSH session being opened and closed immediately.
It is possible to give the system user of a website either chrooted or non-chrooted SSH access to the Plesk server, and also select the shell their SSH sessions will use, such as /bin/bash or /bin/sh.
Note: Make sure that you understand the implications of giving website system users SSH access to the Plesk server before doing so.
To enable SSH access for a website system user:
- Connectez-vous à Plesk.
- Allez sous Sites web et domaine. Ensuite, cherchez le domaine concerné.
- Go to the « Hosting & DNS » tab, and then click Hosting.
- Under « SSH access », select any option other than « Forbidden », and then click Save.
SSH access is now enabled for that website system user. The shell selected under « SSH access » will be used when they log in.
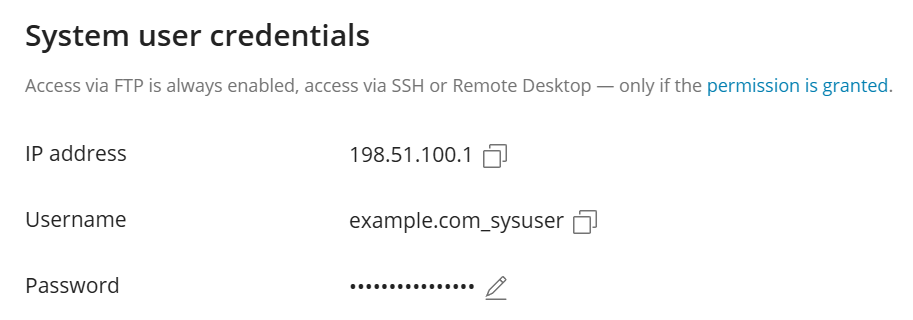
To find out the Plesk server’s IP address and the website system user’s name, go to the « Dashboard » tab, and then click Connection Info.
The user can access the Plesk server via SSH using an SSH client, such as PuTTY. They can also use the SSH Terminal extension to access the SSH prompt from the Plesk graphical interface.
Choosing the Shell
The shell selected under « SSH access » determines, in part, what the website system user is able or unable to do after logging in to the Plesk server via SSH. For example:
- The
/bin/bashshell has more capabilities and features than other shells. Scripts that can run in/bin/bashmay not be able to run in/bin/shor/bin/dash. - The
/bin/rbashshell prevents the use of certain commands and capabilities available in/bin/bash.
And so on. If you are not sure which shell to use, we recommend selecting /bin/bash.
Note: The specific list of available shells may differ depending on the specific OS on the Plesk server, and also the OS version.
Chrooted Versus Non-Chrooted Shell
If the « /bin/bash (chrooted) » option is selected under « SSH access », the website system user will be restricted to the website’s Home directory when logging in to the Plesk server via SSH. That is, their / directory will be set to the website’s Home directory, and not to the file system’s root directory. This is the safer, more restricted option.
bash-5.2$ ls /
bin  dev  error_docs  etc  httpdocs  lib  lib64  logs  tmp  usr  var
Selecting any other shell will result in the website system user having access to a larger part of the Plesk server’s file system. Their / directory will be set to the file system’s root directory. The user’s ability to see, access, and manipulate files and directories will still be restricted by the Linux file system permissions. So, for example, the user will not be able to access the root directory, or the directories of other hosted websites.
example.com_sysuser@example.com:/$ ls /
bin                boot  etc   lib                lib64       media  opt   root  sbin                snap  swap-hibinit  tmp  var
bin.usr-is-merged  dev   home  lib.usr-is-merged  lost+found  mnt    proc  run   sbin.usr-is-merged  srv   sys           usr
example.com_sysuser@example.com:~$ ls /root
ls: cannot open directory '/root': Permission denied
Note: Enabling non-chrooted SSH access for a website system user will affect that website’s configured scheduled tasks:
- When either the « Forbidden » or the « /bin/bash (chrooted) » option is selected under « SSH access », the
/directory is set to the website’s Home directory when a scheduled task runs. - When any other option is selected under « SSH access », the
/directory is set to the file system’s root directory when a scheduled task runs.
Make sure to change the website’s configured scheduled tasks accordingly when granting or revoking a website system user’s SSH access.
Disabling SSH Access for a Website
The ability of a website system user to log in to the Plesk server via SSH can be removed at any time.
To disable SSH access for a website system user:
- Connectez-vous à Plesk.
- Allez sous Sites web et domaine. Ensuite, cherchez le domaine concerné.
- Go to the « Hosting & DNS » tab, and then click Hosting.
- Under « SSH access », select the « Forbidden » option, and then click Save.
SSH access is now disabled for that website system user. Any currently opened SSH sessions will remain open, but no new SSH sessions could be opened for that user.
