Upgrading Plesk for Windows Using Installer Console
If you want to be able to upgrade to a Plesk version other than the latest stable release, you can upgrade using the interactive console.
Note: You can upgrade to Plesk Obsidian from Plesk Onyx 17.0 and later. See if your OS is supported. If you use Plesk 12.5 or earlier, upgrade to Plesk Onyx first.
Follow these steps to begin:
- Log in to the server via RDP.
- Download Plesk Installer.
- Launch the Windows command prompt. Change the working directory to the one in which you saved the installer binary, then run the following command:
plesk-installer.exe --console
This will launch the console in the command prompt window.
If you prefer to use a graphical interface during the upgrade, see the Upgrading Plesk for Windows Using Installer GUI topic.
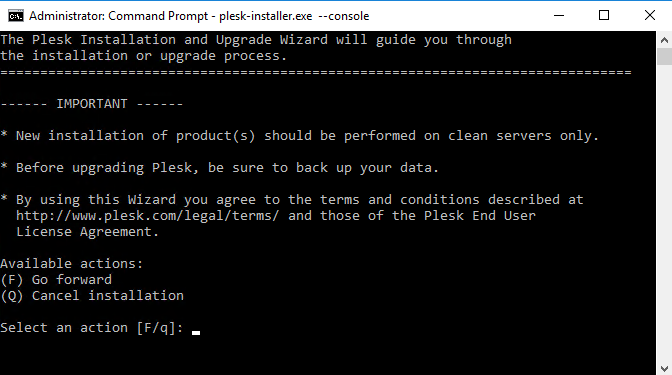
Read the text marked with “IMPORTANT”, then type F in the
command prompt and hit the Enter key to proceed.
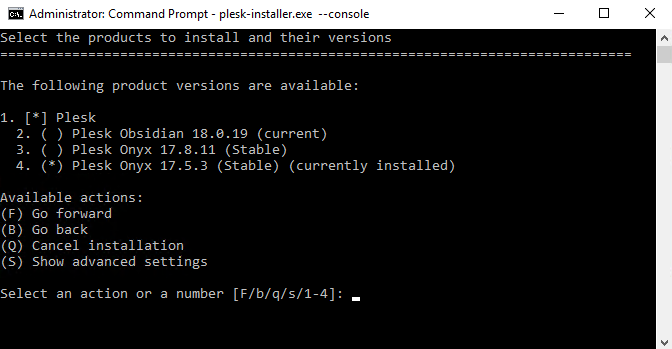
Next, you need to select to which version of Plesk you want to upgrade. Here you are about to upgrade to the latest Plesk release.

Type F and press Enter to continue.
Confirm that you wish to upgrade to proceed. Plesk installer will download the installation files for the selected Plesk version and prompt you for confirmation.
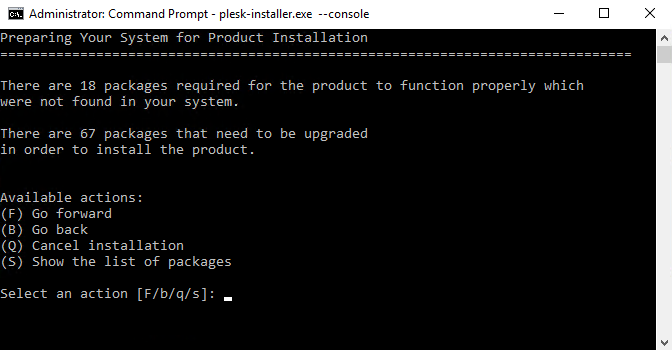
Type F and press the Enter key to perform the upgrade.