Installing Plesk on VirtualBox
This describes how to install a virtual server with Ubuntu 16.04 and Plesk 17.0 on Oracle VirtualBox using an ISO-image.
-
Download the ISO-image
Download
plesk-17.0-ubuntu-16.04-amd64.isofrom http://autoinstall.plesk.com/iso/. -
Create the virtual server
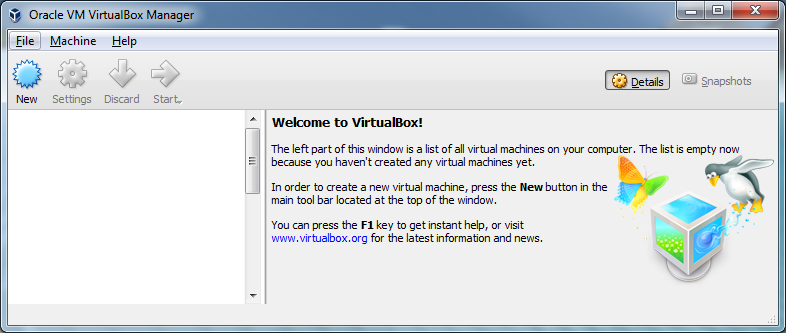
Open the VirtualBox interface.

Click New to create a new virtual machine.
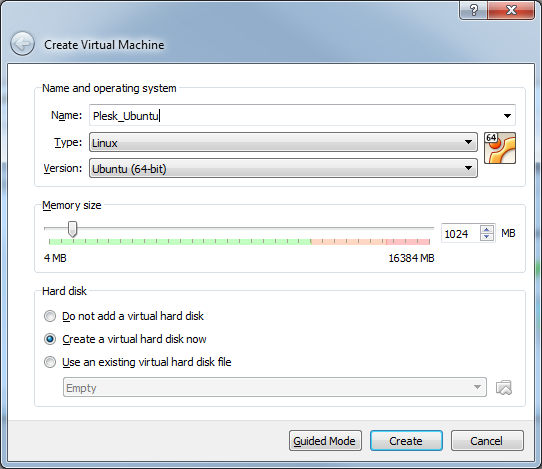
Specify the name for the virtual machine, the operating system and the memory size. Refer to Hardware Requirements for information on memory requirements.
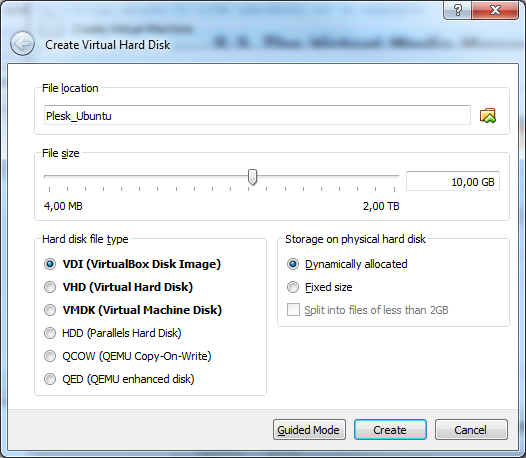
Configure the hard disk. Click Create to complete the creation of the virtual server.
-
Power on the virtual server
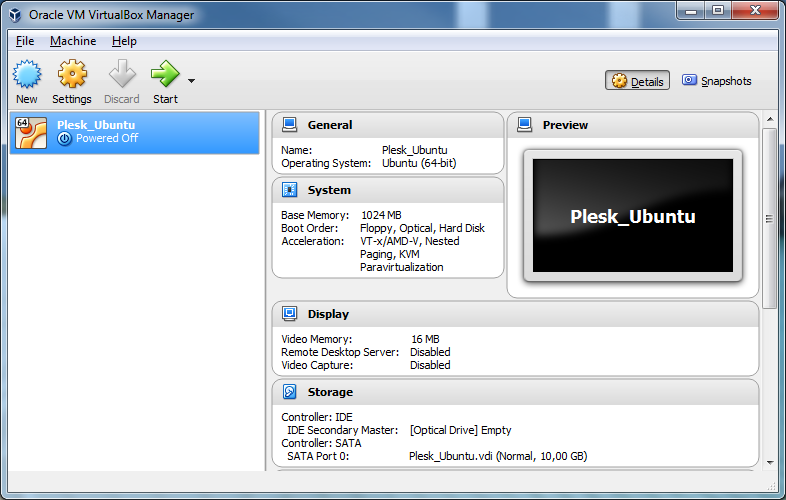
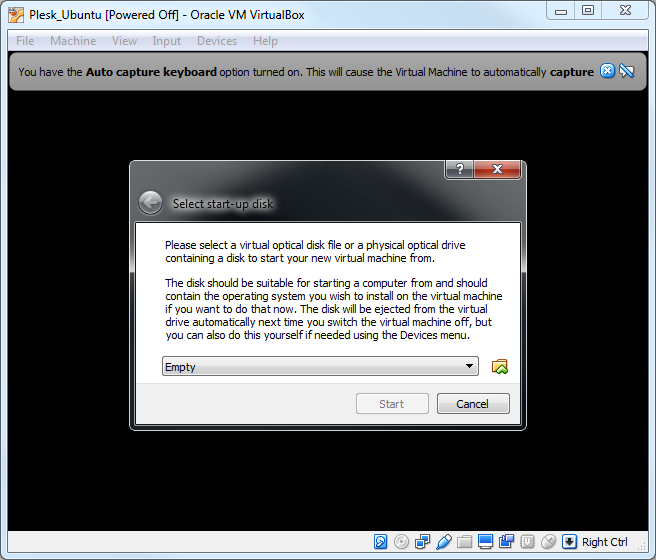
The virtual server will be powered off by default. Click Start to power on the virtual server.
The system will request the source from which to start the virtual server.
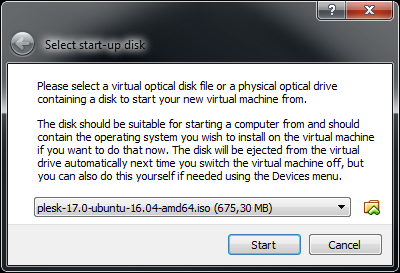
Find the ISO-image you downloaded and enter it as the source. Click Start to begin installation.
-
Install and configure the operating system
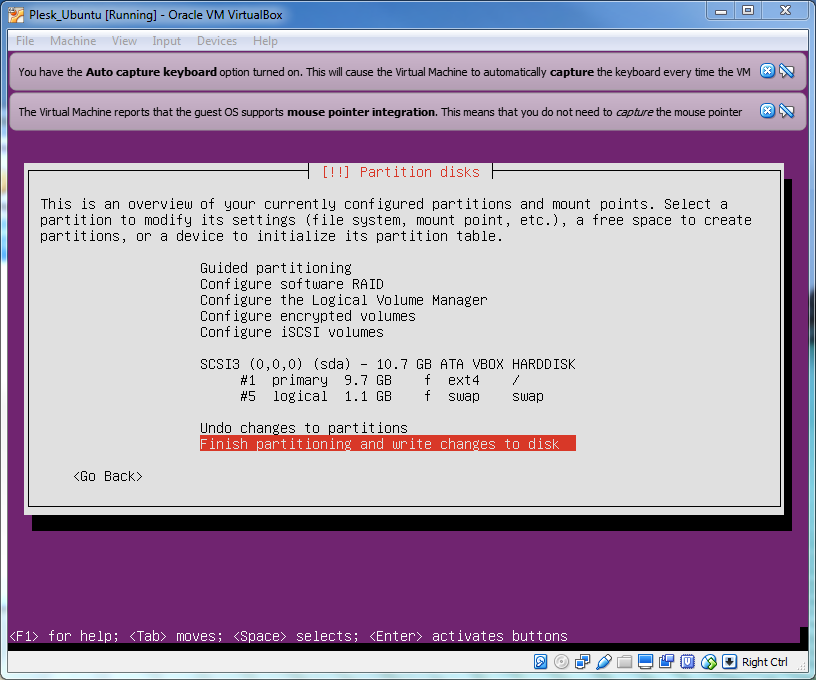
The process of installing the operating system will commence.
Provide all the necessary information to complete the process.
-
First login
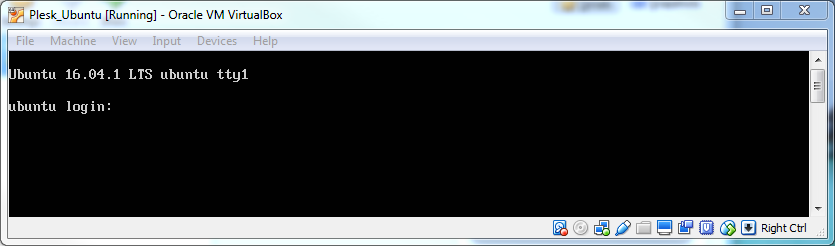
When the installation of the operating system is complete, the virtual server will restart.
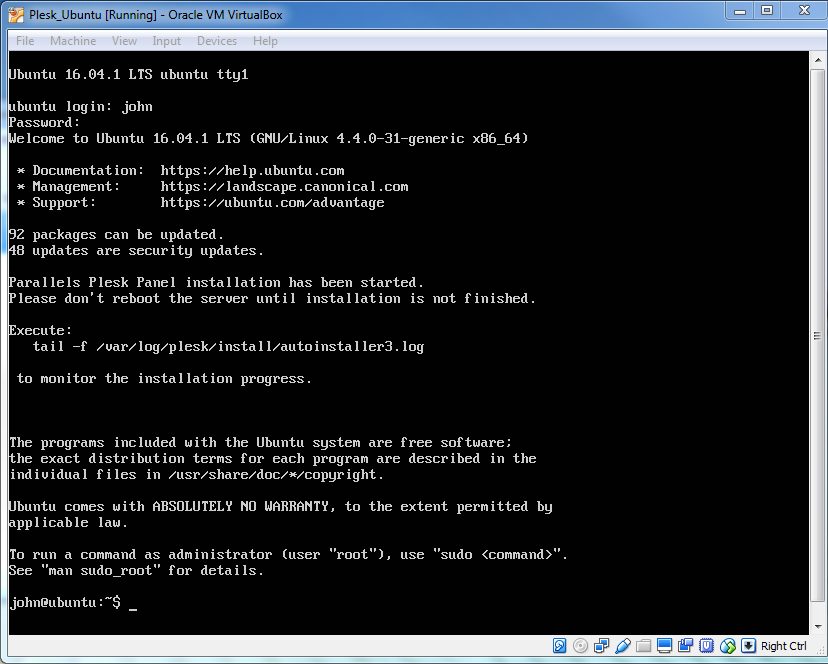
When you enter, you will see a message informing you that Plesk installation is in progress.
If you wish, you can monitor the progress of Plesk installation by running the following command:
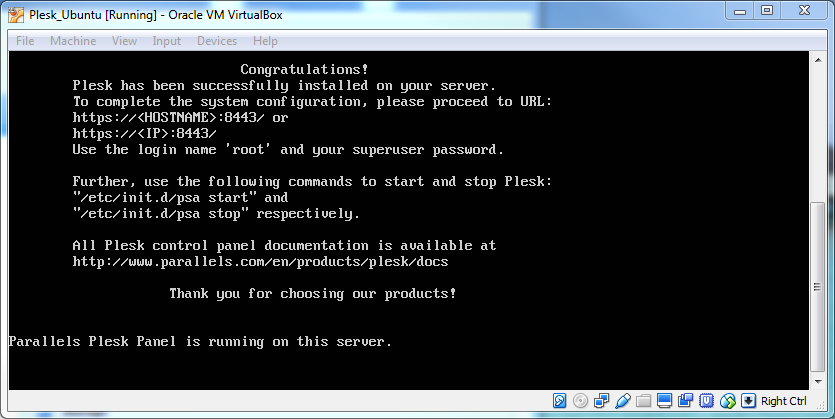
# tail -f /var/log/plesk/install/autoinstaller3.logWhen Plesk installation is complete, you will see the following message:
Plesk is now installed.