
(Plesk for Windows)ODBC でデータベースにアクセスする
アプリケーションから ODBC 経由で外部データベースにアクセスする必要がある場合は、必要な ODBC 接続を Plesk で作成することができます。ODBC 接続を作成した後で、データベース内の情報にこの ODBC 接続でアクセスできるようにアプリケーションをカスタマイズすることができます。
データベースは必ずしも外部である必要はありません。ODBC はローカルデータベースへのアクセスにも使用することができます。
ODBC data sources can be managed at two levels:
Server level — data sources available to all domains on the server. Managed in Tools & Settings > ODBC Data Sources.
Domain level — data sources available to a specific domain only. Managed in Websites & Domains > ODBC Data Sources.
Plesk supports both 32-bit and 64-bit data sources. When creating a data source, you can select the platform (32-bit or 64-bit) based on your application's requirements. The default is 64-bit.
注釈
If you are upgrading from an earlier version of Plesk, the plesk bin dsn CLI command now defaults to managing 64-bit data sources. If you need to manage 32-bit data sources via CLI, use the -bit 32 option explicitly.
ODBC Drivers
Plesk for Windows includes built-in support for the following 64-bit ODBC drivers:
SQL Server
ODBC Driver 17 for SQL Server
MySQL ODBC 9.7
To use additional ODBC drivers, install them manually on the server. After installation, go to Tools & Settings > Server Components and click Refresh so that Plesk recognizes the newly installed drivers.
Managing Server-Level ODBC Data Sources
Server-level ODBC data sources are available to all domains on the server.
To create a new server-level ODBC data source:
Go to Tools & Settings and click ODBC Data Sources.
[ODBC DSN を追加]をクリックします。
ODBC 接続名とその説明を、該当するフィールドに指定します。
In the Platform field, select 32-bit or 64-bit depending on your application's requirements.
[ドライバ]フィールドに必要なドライバを指定します。
[ODBC DSN を作成]をクリックします。
Choose the appropriate options on the driver configuration screen. Typically, you have to specify the database path, user credentials, and other connection options depending on the selected driver.
Click Test connection to check whether the connection will function properly with the provided settings.
-
Click Save to complete the creation.

To change the settings of an existing server-level ODBC data source:
Go to Tools & Settings and click ODBC Data Sources.
リストで、必要な接続名をクリックします。
必要に応じて設定を変更します。
Click Test connection to check whether the connection will function properly with the new settings.
Click Save to save changes.
To remove a server-level ODBC data source:
Go to Tools & Settings and click ODBC Data Sources.
削除したい接続の横のチェックボックスをオンにします。
[削除]をクリックして、[はい、削除します]をクリックします。
Managing Domain-Level ODBC Data Sources
Domain-level ODBC data sources are available only to a specific domain.
To create a new domain-level ODBC data source:
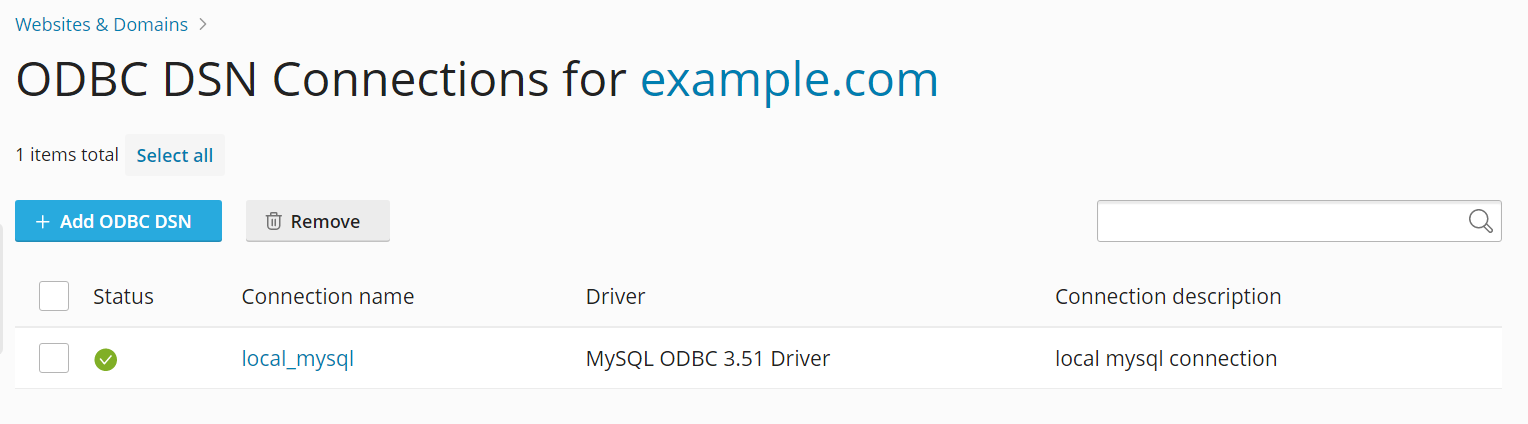
[ウェブサイトとドメイン]に進み、[ODBC データソース]をクリックします。
[ODBC DSN を追加]をクリックします。
ODBC 接続名とその説明を、該当するフィールドに指定します。
In the Platform field, select 32-bit or 64-bit depending on your application's requirements.
[ドライバ]フィールドに必要なドライバを指定します。
[ODBC DSN を作成]をクリックします。
Choose the appropriate options on the driver configuration screen. Typically, you have to specify the database path, user credentials, and other connection options depending on the selected driver.
Click Test connection to check whether the connection will function properly with the provided settings.
Click Save to complete the creation.
To change settings of an existing domain-level ODBC data source:
[ウェブサイトとドメイン]に進み、[ODBC データソース]をクリックします。
リストで、必要な接続名をクリックします。
必要に応じて設定を変更します。
Click Test connection to check whether the connection will function properly with the new settings.
Click Save to save changes.
To remove a domain-level ODBC data source:
[ウェブサイトとドメイン]に進み、[ODBC データソース]をクリックします。
削除したい接続の横のチェックボックスをオンにします。
[削除]をクリックして、[はい、削除します]をクリックします。