Setting up Multi-Factor Authentication in Plesk
Weak passwords can easily be compromised by a brute-force attack. Strong passwords are more secure but they are still not foolproof.
To enhance the security of your Plesk account, we recommend that you use multi-factor authentication (MFA) to log in to Plesk. Passwords are the first layer of security. MFA adds a second one to your Plesk authentication process. At the moment, the second security layer is represented by one-time passwords generated by an MFA app on your smartphone. These one-time passwords are also called verification codes, and we will use this term further on.
To set up logging in to Plesk with verification codes:
Install an MFA app on your smartphone (for example, Google Authenticator, Microsoft Authenticator or any other MFA app of your choice).
-
Go to My Profile, scroll down to the “Multi-Factor Authentication (MFA)” section, and then click the link below.
Note
The Multi-Factor Authentication (MFA) extension is installed in Plesk by default. If for any reason it is not, install the extension manually.
Select the “Enable Multi-factor Authentication” checkbox.
-
With your smartphone, scan the QR code that appears.
On your smartphone in your authentication app, you will then see the hostname of your Plesk server. The Google Authenticator app shows a 6-digit verification code below the hostname. With other MFA apps, you may need to click the hostname to see the code.
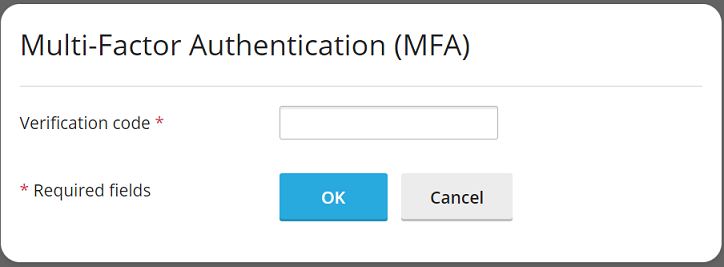
Enter the verification code.
-
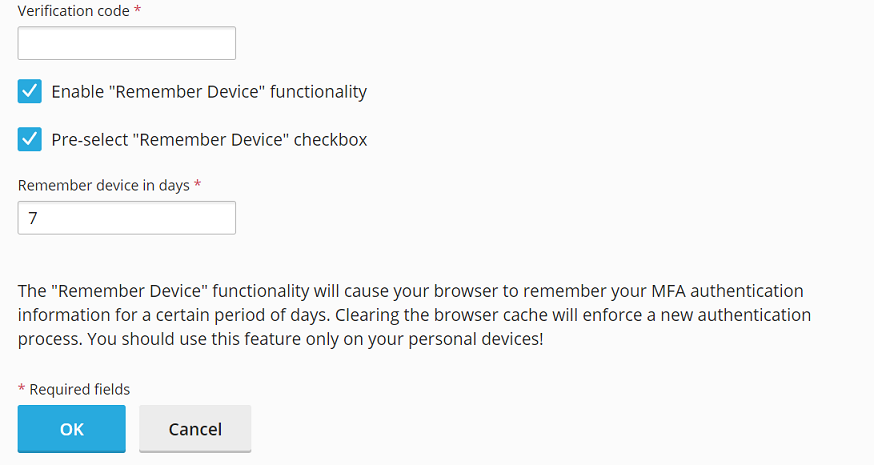
If you do not want to enter a verification code each time you log in to Plesk, select the “Enable the “Remember Device” feature” checkbox.
Warning
Enable the “Remember Device” feature only on your personal device. Otherwise, a third party can get access to your Plesk account.
If you have enabled the “Remember Device” feature, you will not be required to provide a verification code when logging in to Plesk on this device for the specified number of days. Once this period is over or after the browser cache is cleared, you will have to enter a verification code again.
-
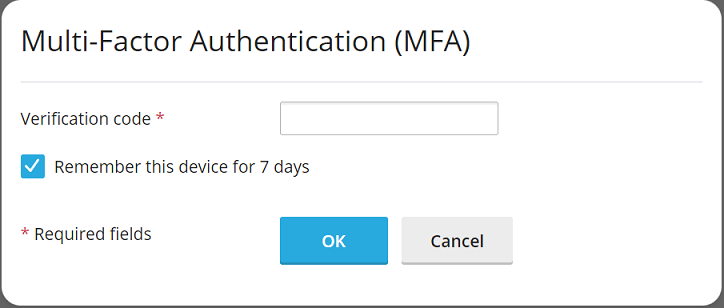
If you have enabled the “Remember Device” feature, the browser will remember your device for the specified number of days. However, when you log in to Plesk from another device, you will be prompted to enter a verification code. You will also see the checkbox “Remember this device for n days”, where n is the number of days you specified earlier on the previous step.

To have this checkbox selected by default each time you log in to Plesk from a new device, select the “Preselect the “Remember Device” checkbox” checkbox.
Click OK.
You have set up MFA in Plesk. To log in to Plesk, you will now be prompted to enter a verification code of your MFA app.
Enforcing MFA Usage
Plesk implements MFA with the help of the Multi-Factor Authentication (MFA) extension, which is installed by default as a part of the recommended preset. If the extension is installed, the owner of any Plesk account can set up MFA for their account.
To enhance security, you may want to enforce MFA usage for all Plesk accounts, with or without the possibility to bypass it. In the latter case, logging in to Plesk without setting up MFA will no longer be possible.
Note
There is no way to enforce MFA for some accounts or account types, but not for others. Following the instructions below will enforce MFA for all accounts, including your administrator account.
To enforce MFA usage:
Set up logging in to Plesk with verification codes using the procedure above.
-
Open the panel.ini file for editing, which is located here:
(Plesk for Linux)
/usr/local/psa/admin/conf/panel.ini(Plesk for Windows)
%plesk_dir%admin\conf\panel.ini
You can also edit the file in the Plesk interface using the Panel.ini Editor extension.
-
Depending on the desired scenario, add the following lines to the
panel.inifile, and then save it:-
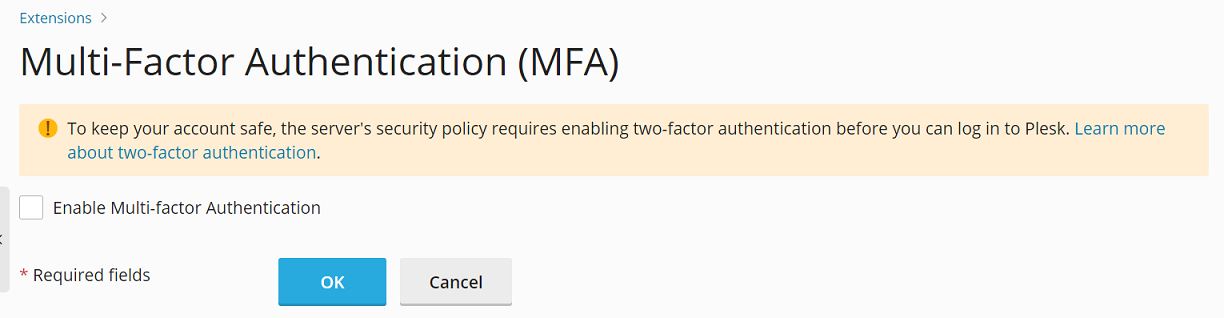
To enforce MFA without the possibility to bypass it:
[ext-mfa]
enforce = true
allowSkipEnforce = false
Whenever there’s a login under a Plesk account without MFA set up, the user will see the following message. They will not be able to continue using Plesk until they set up MFA.
-
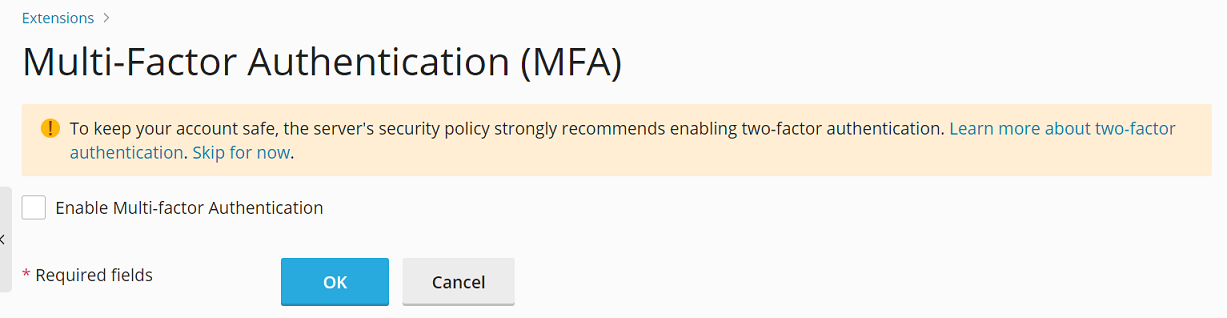
To enforce MFA with the possibility to bypass it:
[ext-mfa]
enforce = true
allowSkipEnforce = true
Whenever there’s a login under a Plesk account without MFA set up, the user will see the following message. Unlike the previous case, they can skip MFA setup and continue using Plesk. However, they will see this message with each Plesk login until they set up MFA.
-
-
(Optional) Once you have enforced MFA usage, users will see either of the two messages (shown on the screenshots above) with the link to the following KB article. The article explains how MFA works and enhances security.
You may want to feature another source of information about MFA. To do so, add lines of the following pattern to the
panel.inifile, and then save it:[ext-mfa] learnMoreUrl = https://example.com ; the URL of the web page you want to feature