Uploading Content with File Manager
Watch the video tutorial
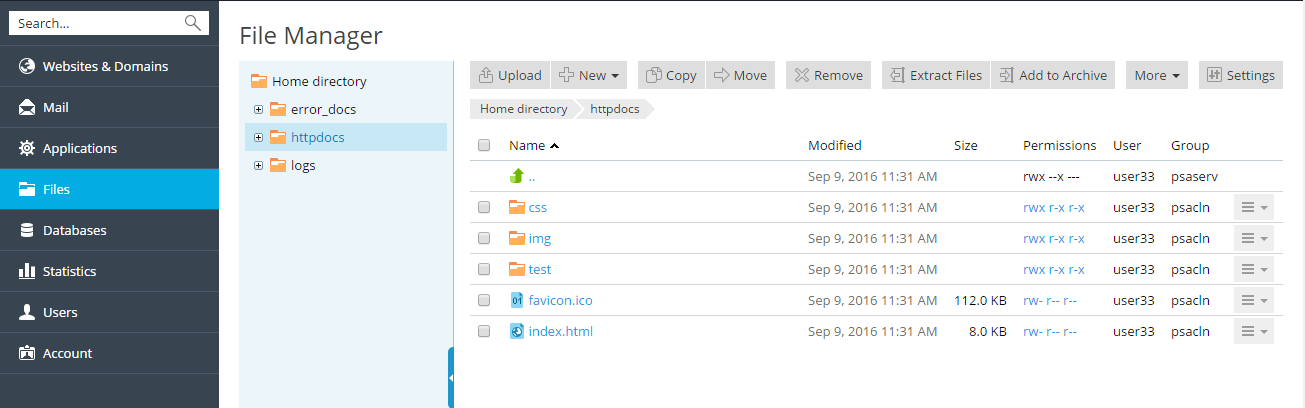
To upload a website from your computer to the Plesk server by using File Manager, follow these steps:
-
On your computer, add the folder containing your website’s files to an archive (right-click it and select Send To > Compressed (zipped) Folder) from the context menu.
-
In Plesk Customer Panel, open the Files section, click the
httpdocsfolder to open it, click Upload, select the archive file, and click Open. -
Once the file has been uploaded, click the checkbox next to it and select the Extract Files option.

If you want to edit pages of your website, you can do it in File
Manager. It provides an HTML editor that allows visual editing of HTML
pages (without needing to manually type HTML tags). To edit a file in
the HTML editor, place the mouse pointer over the file, click the link
 to open the file’s context menu, and select Edit in
HTML Editor.
to open the file’s context menu, and select Edit in
HTML Editor.
You can also edit files in the File Manager’s text editor if you like.
To open a file in the text editor, click the link to
open the file’s context menu, and select Edit in Text Editor.
If you have files or web pages that you want to make inaccessible on the
Internet, change these files’ access permissions in File Manager. To
edit access permissions for a file or a directory, click the link
to open the context menu, and select Change
Permissions. To learn how to review and edit the permissions, refer to
the section Setting File and Directory Access
Permissions.
Learn more about uploading and editing website files and folders with File Manager in the Website Content section.