Installing Plesk on VMware Workstation Player
This describes how to install a virtual server with Ubuntu 16.04 and Plesk 17.0 in a VMware Workstation 12 Player using an ISO-image.
-
Download the ISO-image
Download
plesk-17.0-ubuntu-16.04-amd64.isofrom http://autoinstall.plesk.com/iso/. -
Create the virtual server
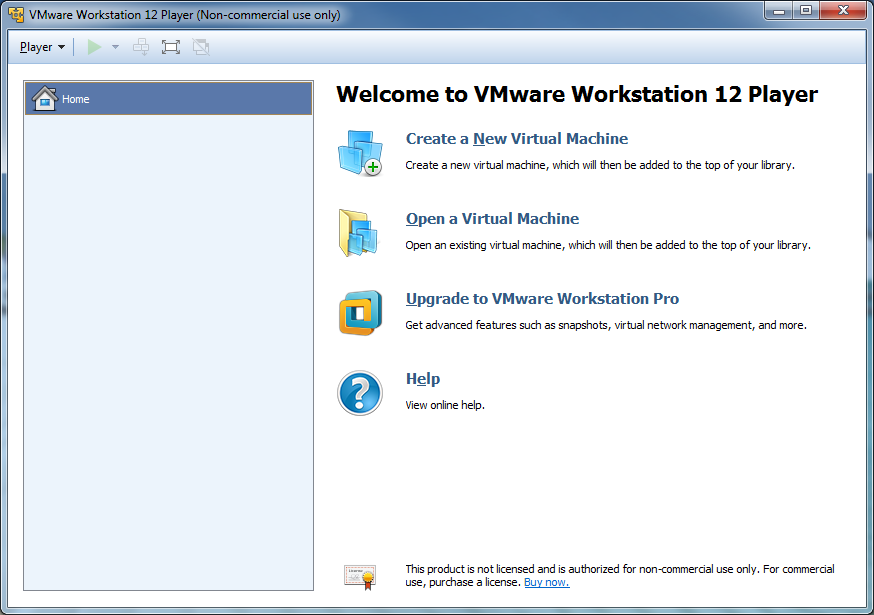
Open the VMware Player interface.

Click Create a New Virtual Machine.
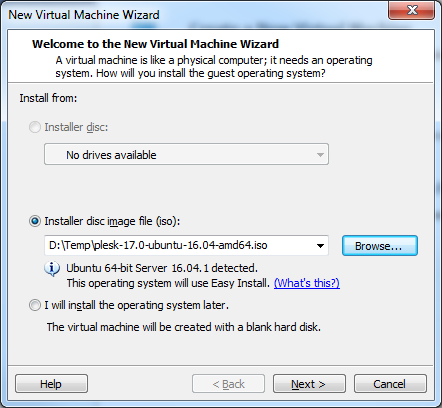
Select the downloaded ISO-image as installation source.
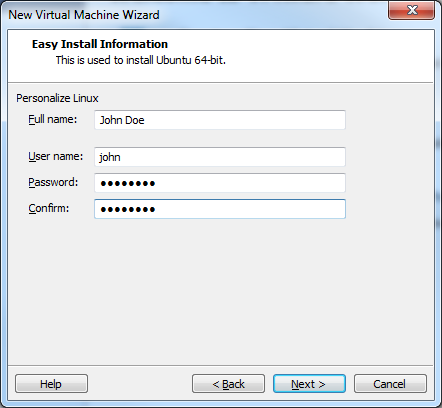
Enter user information.
Name the new virtual server and choose the location for storing files.
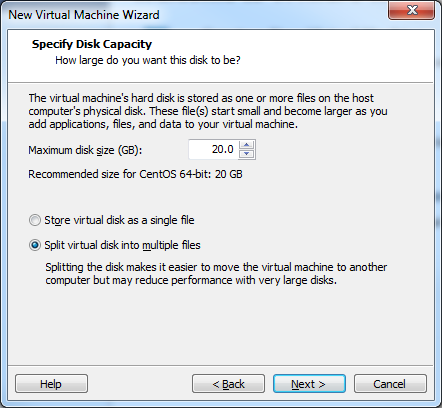
Specify the size of the disk for the virtual server.
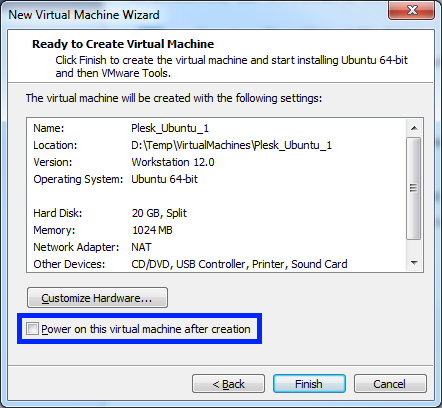
Note: For Ubuntu guest operating systems only – at this step, it will be necessary to disable the virtual CD/DVD device with
autoinst.iso. To do that, disable the Power on this virtual machine after creation checkbox and follow the next few instructions.Click Finish.
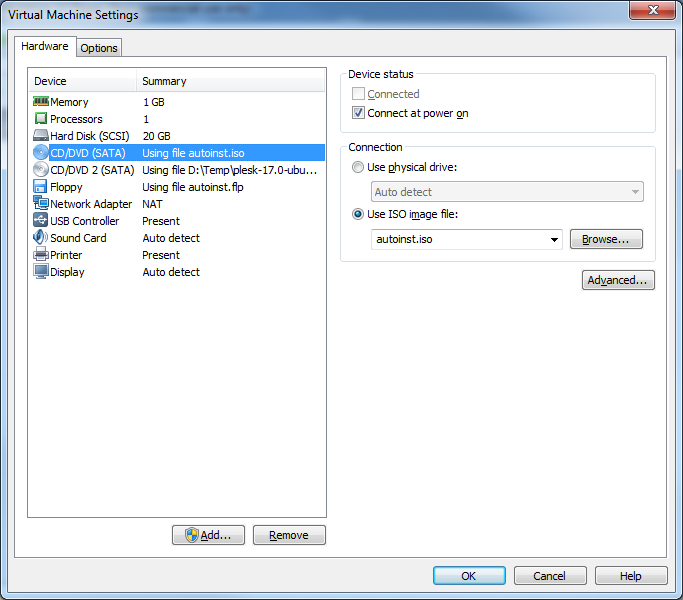
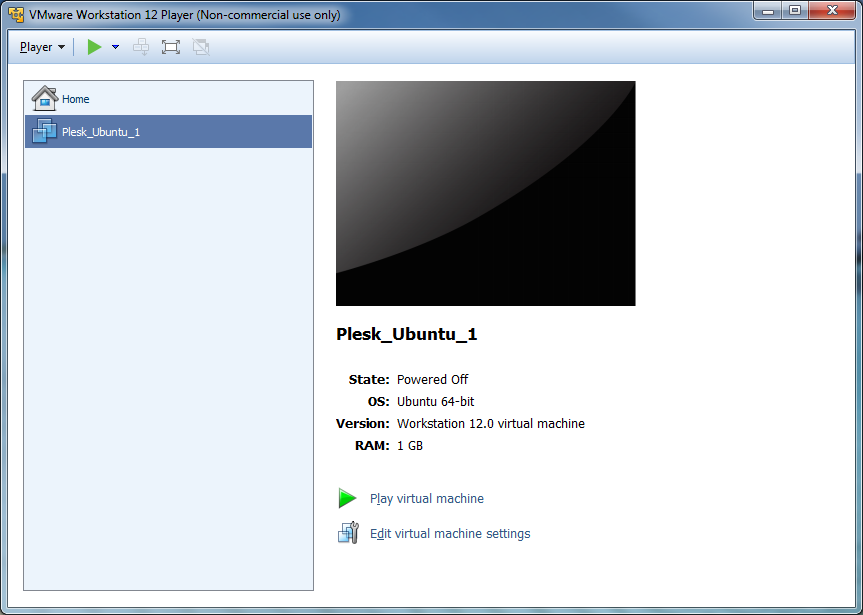
Click Edit virtual machine settings to access the settings edit dialog.
Select CD/DVD (SATA) Using file autoinst.iso and click Remove. Then click OK to save changes.
Click Play virtual machine to boot it up and begin installing the operating system.
-
Configure the operating system
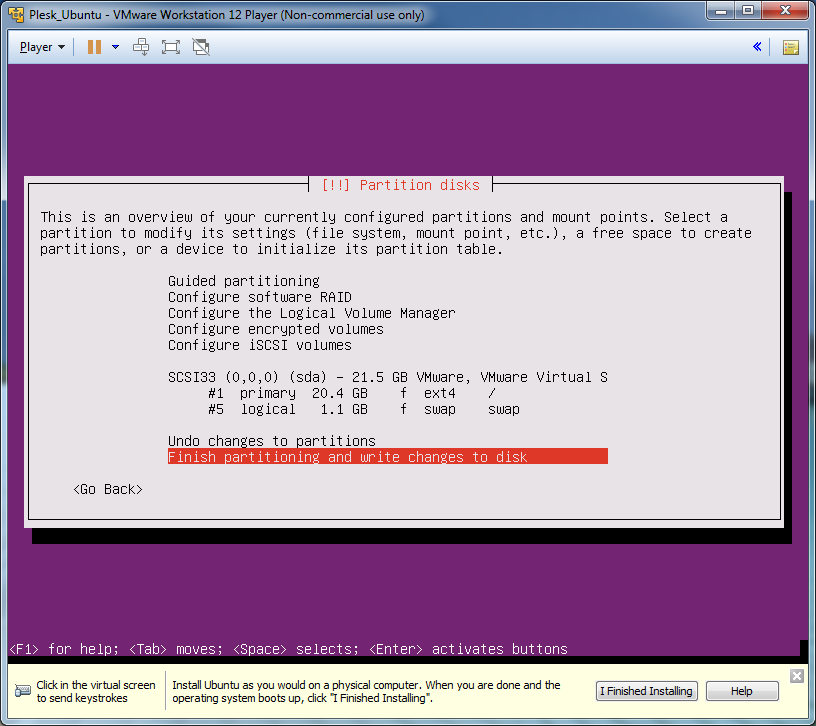
The process of installing the operating system will commence.
Provide all the necessary information to complete the process.
-
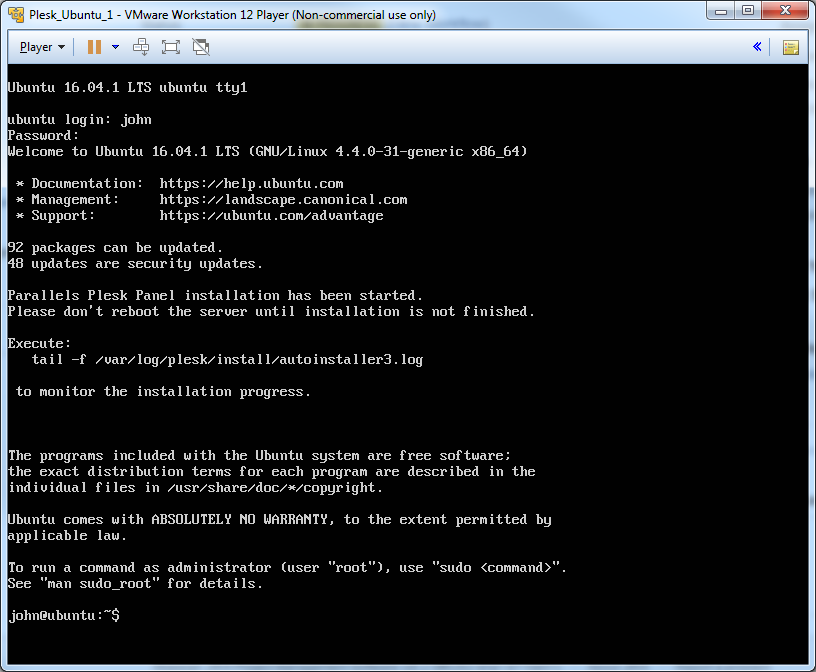
First login
When the installation of the operating system is complete, the virtual server will restart.
When you enter, you will see a message informing you that Plesk installation is in progress.
You can monitor the progress of Plesk installation by running the following command:
# tail -f /var/log/plesk/install/autoinstaller3.logWhen Plesk installation is complete, you will see the following message:
Plesk is now installed.