Extensions
You can customize the Extension Catalog embedded in the Plesk panel in the following ways:
- Set a non-default URL for installing extensions.
- Blacklist certain extensions, so that your customers will not be able to install them.
Customizing the Extension Store URL
By default, all paid extensions are sold via the Plesk Online Store. However, you can use your own extension store to resell extensions.
To make the Extension Catalog on Plesk servers use your store for installing extensions, you should set the URL for that store in the extension settings:
-
Go to the Product Configurations tab in the Partner Central.
-
On the tab open the required product configuration. The configuration page opens.
-
On the configuration page open the Edit link next to Extensions in the Plesk server configuration section. The Extensions page opens in editing mode.

-
On top of the page in the Store URL section, select the checkbox Enable custom extension Store URL.
-
In the text box below, next to the label Store URL for paid extensions, enter the URL for your extension store.
-
Click the Save button below to save the configuration settings. The Extensions page closes.


Note: Note: It is recommended to first check a custom URL with a separate, non-default configuration and a test server associated with such configuration.
Blacklisting Extensions
You can blacklist certain extensions to prevent customers from installing them.
To blacklist certain extensions or make them available again:
-
Go to the Product Configurations tab in the Partner Central.
On the tab open the required product configuration. The configuration page opens.
-
On the configuration page open the Edit link next to Extensions in the Plesk server configuration section. The Extensions page opens in editing mode.
-
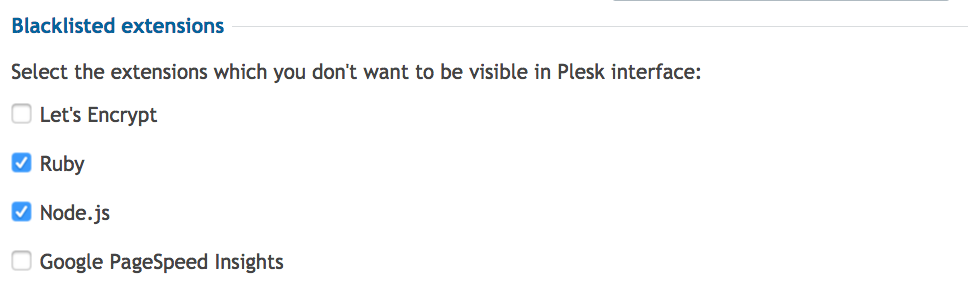
In the Blacklisted extensions section select the extensions that you want to blacklist and deselect the ones that you want to make available.
-
Click the Save button below to save the configuration settings. The Extensions page closes.
Once the new configuration settings take effect, customers will not see these extensions in the Extension catalog and will not be able to install them.
However, if you blacklist an extension which is already installed on a Plesk server, it will remain installed on that server. Customers will still be able to use, manage and update such extension.
Note: KAPC gets the list of extensions directly from the extension store at ext.plesk.com, even if you have set a custom online store URL. Once a new extension becomes available in the catalog, it also becomes available on the extensions settings page. All new extensions are allowed by default (that is, not blacklisted).
Viewing the Extensions Settings
To open the extension settings page in view mode:
- Go to the Product Configurations tab in the Partner Central.
- On the tab select the required product configuration. The configuration page opens.
- On the configuraton page open the Extensions link in the Plesk server configuration section. The Extensions page opens in view mode.