Adding and Removing Plesk Components
To add or remove Plesk components, go to Tools & Settings > Updates.
When you select Add/Remove Components, you will be asked to provide system user credentials to proceed.
Note
You need to provide system user credentials, not those used to log in to Plesk. The user in question also must have the necessary permissions to install software. The administrator credentials you use to log in to the server via RDP should work fine here.
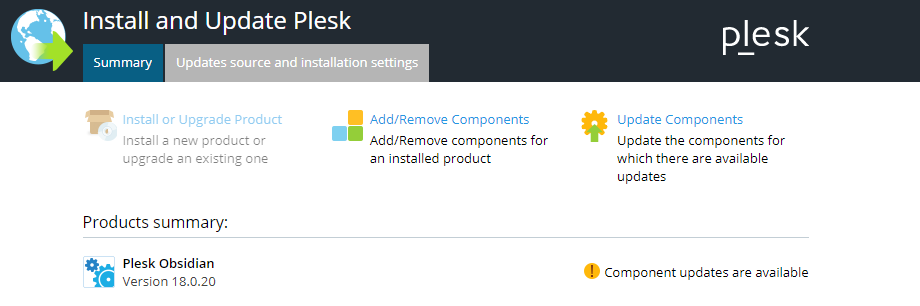
Next, click Add/Remove Components to see a list of all available Plesk components. Some of them are presented individually, and some are grouped by function.

The  icon next to a component indicates that the
component is installed, and the
icon next to a component indicates that the
component is installed, and the  icon indicates that it
is not installed. The
icon indicates that it
is not installed. The  icon next to a group of
components indicates that not all components in the group are installed.
Groups with all components installed are marked with the
icon next to a group of
components indicates that not all components in the group are installed.
Groups with all components installed are marked with the
 icon, and those with no components installed are
marked with the
icon, and those with no components installed are
marked with the  icon.
icon.
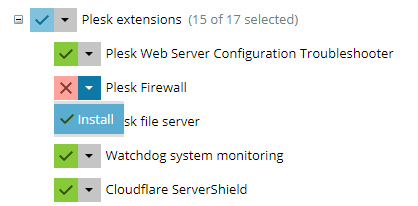
To mark a component for installation, click the  icon
next to the component’s name > Install. You can mark all components
in a group for installation by clicking the
icon
next to the component’s name > Install. You can mark all components
in a group for installation by clicking the  icon next
to the component’s name > Install.
icon next
to the component’s name > Install.
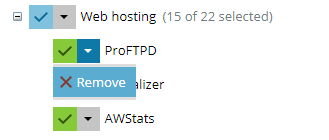
To mark a component for removal, click the  icon next
to the component’s name > Remove. You can mark all components in a
group for removal by clicking the
icon next
to the component’s name > Remove. You can mark all components in a
group for removal by clicking the  icon next to the
component’s name > Remove.
icon next to the
component’s name > Remove.
After you have marked all components you want to install or remove, click Continue to begin the installation or removal. To exit the Plesk Installer without making any changes, click Cancel modifying.