Installing Plesk on UpCloud
Provided Product Configuration
On UpCloud, you can install Plesk Obsidian on CentOS 7 (BYOL) with all components necessary for web hosting (including the web server, a mail server, a database server, and so on), plus the most popular and widely used features.
Installing Plesk on UpCloud
Note: You can skip the steps marked with “(Optional)” as they are not required for Plesk to operate. If you skip an optional step, default settings will be used.
To install Plesk on UpCloud, do the following:
-
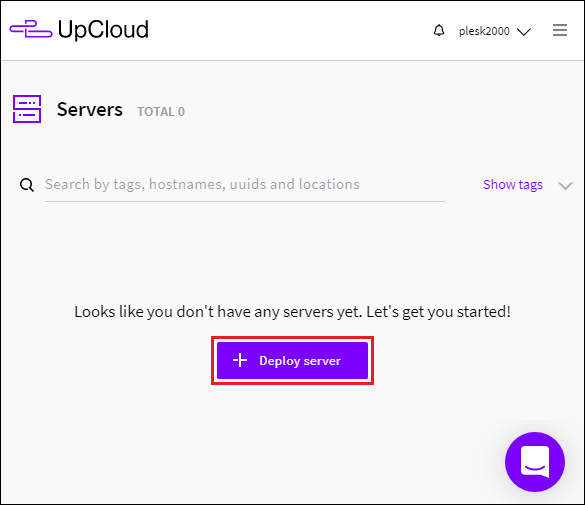
Go to UpCloud, and then go to Servers. Click + Deploy server.

-
Click Create Plesk (CentOS) Droplet/Create Plesk Droplet.
-
Under “Location”, select a location of the data center where your Plesk server will be deployed. If you plan to host small business websites, we recommend selecting the data center closest to the geographic location of local visitors. That way you decrease page load time for them.
-
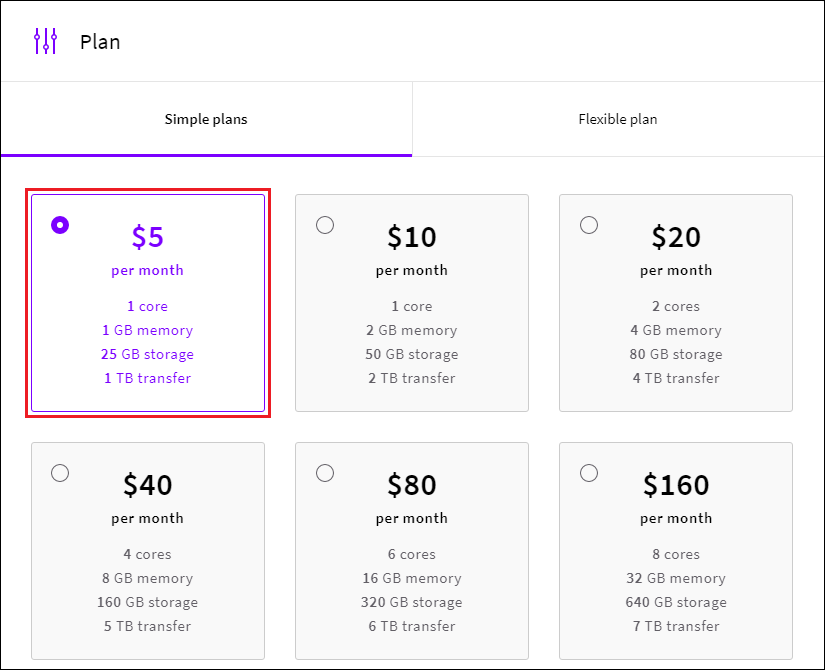
Under “Plan”, select a cloud server plan paying attention to the resources it provides.
The more websites you intend to host and the more traffic the hosted websites generate, the more resources you will need. To estimate the amount of resources your Plesk server will require, refer to Plesk System Requirements.
If you want to try out Plesk on UpCloud, you can choose the 5$ plan (1 GB and 1 CPU core), which is sufficient for testing. If later you find yourself running out of resources, you can always resize your server.
-
(Optional) Under “Storage”, add an additional storage or rename the existing one.
-
(Optional) Under “Automated backups”, configure backing up for Plesk.
-
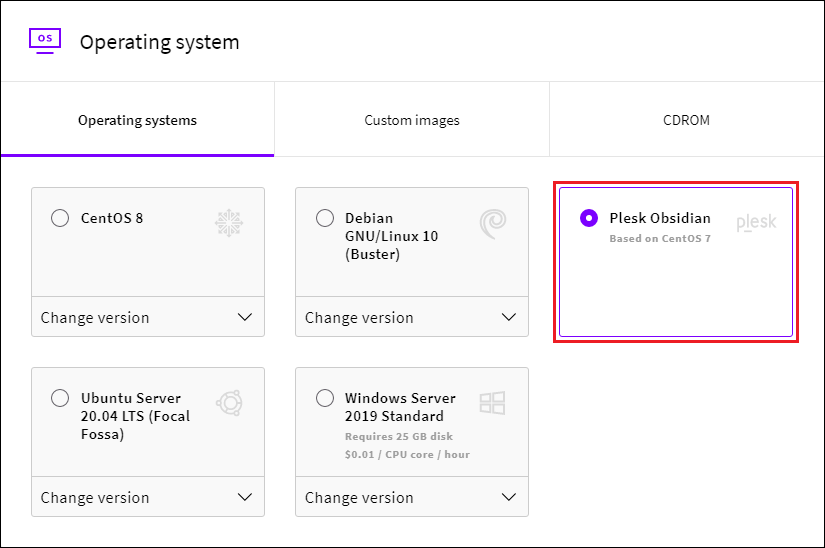
Under “Operating system”, select Plesk Obsidian:
-
(Optional) Under “Optionals”, configure additional options for the Plesk server.
-
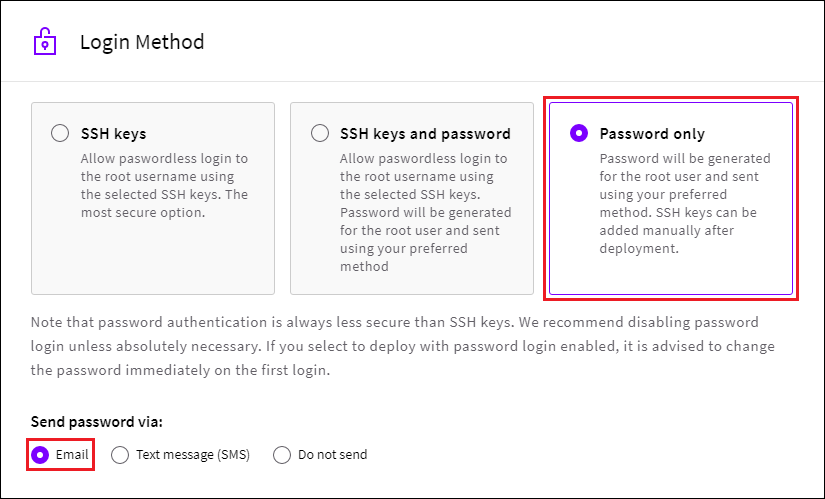
Under “Login Method”, select Password only, and then in the Send password via: section, select Email:
You will receive your credentials in an email.
Note: If your company has specific security requirements, select a different login method. For more information about the available login methods, see the UpCloud documentation, article “Managing SSH keys”.
-
(Optional) Add a shell script that will run on your server the first time it launches.
-
(Optional) Change the autogenerated hostname and server name of your Plesk server.
-
Click Deploy.
UpCloud starts deploying your Plesk. Once the deployment process is completed, you can start working in Plesk.
Accessing Plesk for the First Time
To log in to Plesk for the first time, you need to access the cloud server first, and then generate a one-time login link. Here’s how to do it:
-
Go to UpCloud, and then on the Servers tab, click the Plesk cloud server you have created.
-
Go to the How to connect section and follow the steps in accordance with the operating system installed on your local computer.
-
After you have accessed the cloud server, generate a one-time login link by running the following command:
plesk login
-
Copy and paste one of the generated login links into the browser’s address bar.
-
On the Plesk welcome screen, provide your contact name and email, accept the End-User License Agreement, and set the administrator password (you will then log in to Plesk using that password).
-
Click Enter Plesk.