第一次登录到 Plesk
概要: Once Plesk is installed, it is time to log in and start managing your websites.
In this topic, you will learn how to log in to Plesk for the first time.
After a successful installation using the Plesk autoinstaller, you will be provided with a one-time login URL that contains a session token, for example:
https://example.com/login?secret=JPMCEQTWGnxY3ttd_8Wa7bfDrT4KuHbe97R5TL2uIikH3WcY
或
https://192.0.2.1/login?secret=JPMCEQTWGnxY3ttd_8Wa7bfDrT4KuHbe97R5TL2uIikH3WcY
Follow this URL to automatically log in to Plesk. Select the desired interface language, change your password and log in to Plesk with the new password.
登录至 Plesk
若要登录到 Plesk,请在您的浏览器中打开以下地址:
https://<host-name-or-IP>:8443
例如:
https://example.com:8443
或
https://192.0.2.1:8443
将会打开 Plesk 登录页面。
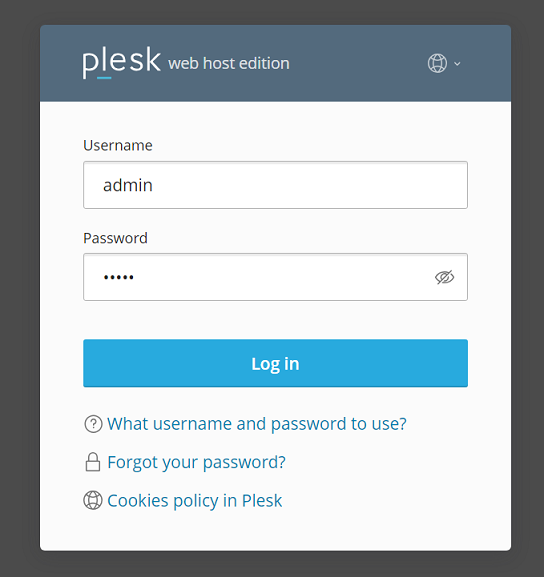
输入您的用户名和密码登录Plesk。默认您的用户名是 admin ,如果Plesk是由第三方预安装的用户名可能会被更改。另外您可以使用 root 用户名(Linux 系统)或 administrator 用户名(Windows 系统)与相应的密码登录 Plesk。
注解: As an additional protection against brute-force attacks,
you may want to change the admin username to the custom one.
Learn how to change the Plesk administrator username.
注解: 您可以禁用通过 root 或 administrator 验证凭据登录Plesk,方法是添加以下行到 panel.ini 文件。
若要禁用 root 验证凭据登录 Plesk:
[login]
systemAdmin = false