使用安装程序控制台安装 Plesk for Linux
如果您想要选择安装某些 Plesk 组件,可使用交互式控制台安装 Plesk。按照以下步骤开始:
-
获取安装程序脚本
下载安装程序脚本:
# wget https://autoinstall.plesk.com/plesk-installer为已下载的安装程序脚本启用执行模式:
# chmod +x ./plesk-installer -
(备选)在安装过程中,Plesk 会配置firewalld (在 运行时 firewalld 规则 丢失时)。若要保留当前配置的 firewalld 运行规则,请执行下面的命令:
# env PLESK_INSTALLER_SKIP_FIREWALLD=1但是,在此情况下,必须手动打开 Plesk 正常运行所需的端口 。您可以通过 firewalld 或 Plesk 防火墙扩展来实现。
-
(Optional) When you install Plesk Onyx 17.5 and later on a server with 512 MB of RAM or less, a 1 GB swap file is created to improve Plesk performance. If you do not want Plesk to create this file (for example, if you have an SSD drive and want to avoid the wear and tear caused by constant I/O operations), increase the amount of RAM on the server or run the following command:
# env PLESK_SWAP=disable -
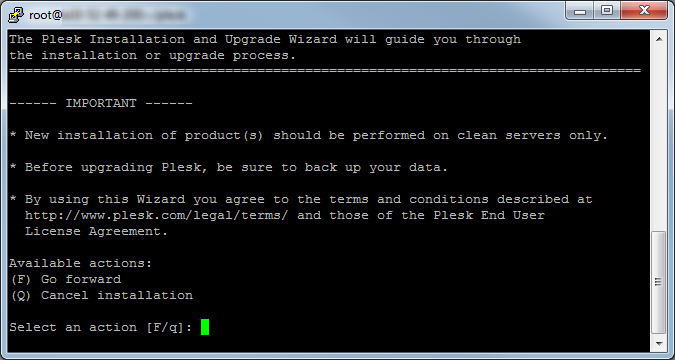
启动安装程序
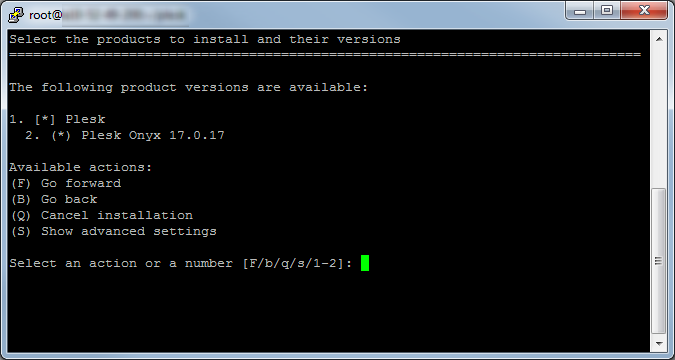
通过以下命令运行脚本以启动交互式安装程序来安装最新稳定的 Plesk 版本:
# sh ./plesk-installer将会询问您一系列安装相关的问题。您可以选择合适的选项,也可以返回更正已选定的选项。

使用
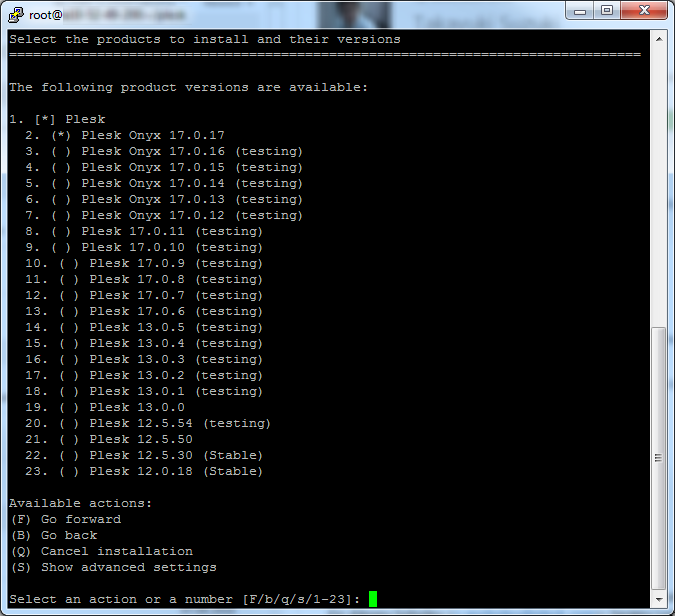
--all-versions选项运行安装程序以令所有的 Plesk 版本可用于安装:# sh ./plesk-installer --all-versions使用
--tier TIER_NAME选项运行安装程序脚本以查看指定版本层级最新可用的版本:# sh ./plesk-installer --tier testing欲了解有关 Plesk 版本层级的信息,请参阅 Plesk 版本层级 。
欲了解更多有关安装脚本的信息,请运行:
# ./plesk-installer --help
完成安装流程时,请根据此处描述的简单步骤配置 Plesk: Plesk 单台服务器安装后配置 。