Plesk Licensing
summary: To operate, Plesk requires a license. Different licenses are available, varying in price and the features they enable. Moreover, additional functions can be unlocked via additional licenses, installed together with your Plesk license.
In this topic, you will learn how to purchase and install a Plesk license, and also additional licenses.
Overview
When installed, Plesk comes with a trial license. It provides limited functionality, and is only active for a short period of time. Once the trial license has expired, you need to purchase a commercial Plesk license and install the license key to continue using Plesk.
In addition, certain Plesk functions can be unlocked by purchasing additional licenses. After purchase, license keys for those licenses must also be installed in Plesk.
Note: Additional licenses are bound to an individual Plesk license during purchase. They can only be used on a Plesk server on which the license key for the corresponding Plesk license is installed.
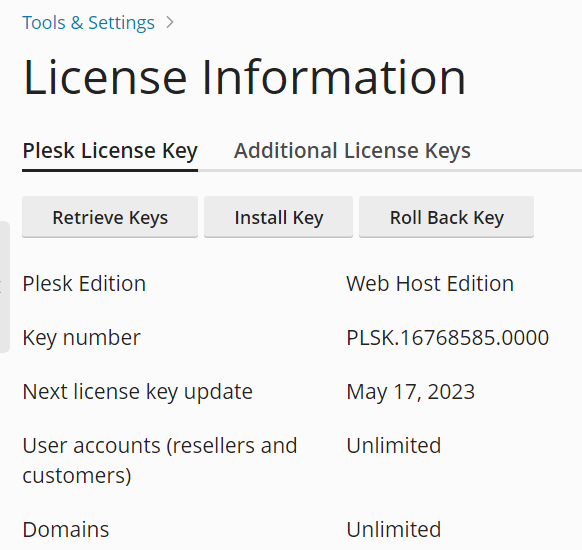
To see the currently installed license key, the limits it imposes (such as the maximum allowed number of domains or mail accounts), and also the features it enables, go to Tools & Settings > License Information (under “Plesk”).
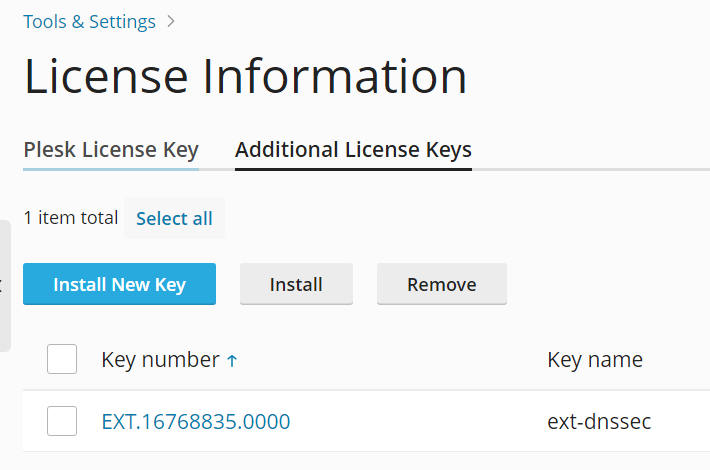
You can see any installed additional license keys on the Additional License Keys tab.
Plesk uses the TCP port 443 for connections to the licensing server. Make sure that the port is not blocked by firewall. Plesk cannot operate without periodic connections to the licensing server, even if a valid license key is installed.
To test the connection to the licensing server, go to Tools & Settings > License Information (under “Plesk”), and then click Retrieve Keys.
Plesk Editions
Plesk Obsidian licenses come in three variations: Web Admin Edition, Web Pro Edition, and Web Host Edition. These licenses differ in price, and also in the number of functions and features they enable. Learn more about Plesk editions.
A license for any edition can be purchased for a physical (dedicated license) or virtual (VPS license) server. A license key for a virtual server can only be used in Plesk that is installed on a supported virtualization platform.
Installing License Keys in Plesk
After purchasing a license, you need to install the corresponding license key in Plesk. This is true for both the Plesk license and any additional licenses.
By default, you install license keys in Plesk using an activation code. You receive your activation code via email after purchasing a license. A Plesk activation code is an alphanumeric sequence consisting of five groups of six characters each, like this one:
AB1C23-4DEF56-7GHI89-JK1L23-MNP456
You can also install a license key in the form of an .xml or .zip file. To do so, you need to enable uploading license files first. Add the following lines to the panel.ini file:
[license]
fileUpload = on
The corresponding option will now be shown in the Plesk interface.
Installing the Plesk license key
- Log in to Plesk.
- Go to Tools & Settings > License Information (under “Plesk”).
- Click Install Key.
- Paste in the activation code, and then click Install.
- (Optional) Select the “Upload a license key file” radio button, select the corresponding file, and then click Install. You can do so only if you have enabled uploading license files.
The new license key is now installed.
Installing an additional license key
- Log in to Plesk.
- Go to Tools & Settings > License Information (under “Plesk”).
- Go to the Additional License Keys tab, and then click Install New Key.
- Paste in the activation code, and then click Install.
- (Optional) Select the “Upload a license key file” radio button, select the corresponding file, and then click Install. You can do so only if you have enabled uploading license files.
The additional license key is now installed.
You can also install both the Plesk license key and any additional license keys via the CLI. To do so, use the plesk bin license CLI utility:
Using Older Plesk Licenses in Plesk Obsidian
If you have a lease license for an earlier Plesk version, you can use it in Plesk Obsidian with no issue.
If you have a permanent license for an earlier Plesk version, you need to have active Software Update Service (SUS) for that license before you can use it in Plesk Obsidian. Learn how to check whether SUS is active for a license. If it is not, learn how to purchase SUS for your license.
Upgrading Plesk License Keys
It is possible to upgrade an existing license from Web Admin Edition to Web Pro Edition or Web Host Edition, and from Web Pro Edition to Web Host Edition. It is also possible to change the license type from VPS to dedicated. To do so, visit the Plesk 360 website or contact licensing and purchase support.
Once your license has been upgraded, you need to retrieve the upgraded license key.
Retrieving the license key
- Log in to Plesk.
- Go to Tools & Settings > License Information (under “Plesk”).
- Click Retrieve Keys.
The upgraded license key is now installed. You can now enjoy the benefits offered by the upgraded license.
Rolling Back to a Previously Used License Key
If the need arises, you can roll the currently installed license key back to the one that was installed before.
Rolling back the license key
- Log in to Plesk.
- Go to Tools & Settings > License Information (under “Plesk”).
- Click Roll Back Key.
The license key that was installed previously is now installed.