Upgrading Plesk for Windows Using Installer GUI
If you want to be able to upgrade to a Plesk version other than the latest stable release, you can upgrade using the graphical interface.
Note: You can upgrade to Plesk Obsidian from Plesk Onyx 17.0 and later. See if your OS is supported. If you use Plesk 12.5 or earlier, upgrade to Plesk Onyx first.
Follow these steps to begin:
-
Log in to the server via RDP.
-
Download Plesk Installer.
If you’re upgrading Plesk on a Server Core installation, you can download Plesk Installer by running the following command in PowerShell:
Invoke-WebRequest -URI https://installer-win.plesk.com/plesk-installer.exe -OutFile plesk-installer.exe
-
Launch the Windows command prompt. Change the working directory to the one in which you saved the installer binary, then run the following command:
plesk-installer.exe --web-interface
This will launch the web interface in a browser window.
If you prefer to use a command line console during the upgrade, see the Upgrading Plesk for Windows Using Installer Console topic.

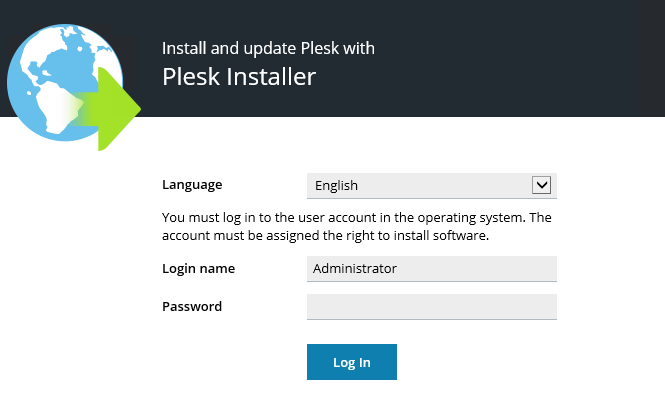
Select the desired interface language and log in with your Windows administrator credentials to proceed.

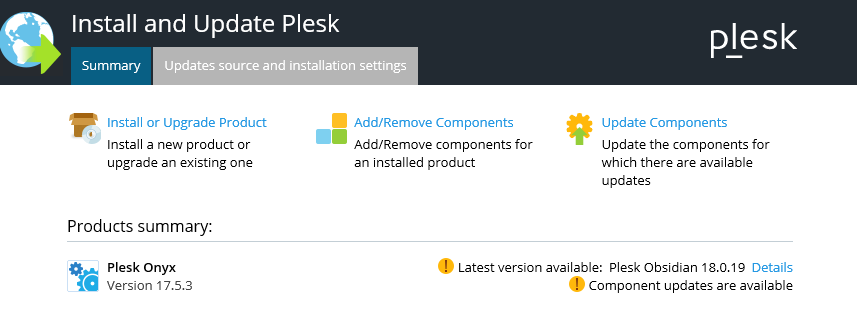
Under “Products summary” you can see the currently installed Plesk version, as well as the latest available version (if any). Click Install or Upgrade Product to continue.

Select the desired Plesk version from the menu and click Continue to begin the upgrade.