Deploying Plesk on VMware Workstation Player
summary: In this topic, you will learn how to deploy Plesk from a QCOW2 image on VMware Workstation Player.
We will use Plesk running on Ubuntu 22 as an example, but you can also deploy Plesk running on CentOS 7 the same way.
Before You Begin
Before deploying Plesk, do the following:
- Download and install VMware Workstation Player on your computer.
- Download the plesk-ubuntu-latest.qcow2 image from https://autoinstall.plesk.com/images/.
- Convert the QCOW2 image to the VMDK format.
Deploying Plesk Using a Converted QCOW2 Image
To deploy Plesk on VMware Workstation Player using a QCOW2 image converted to the VMDK format, create a virtual server. Here’s how to do it:
-
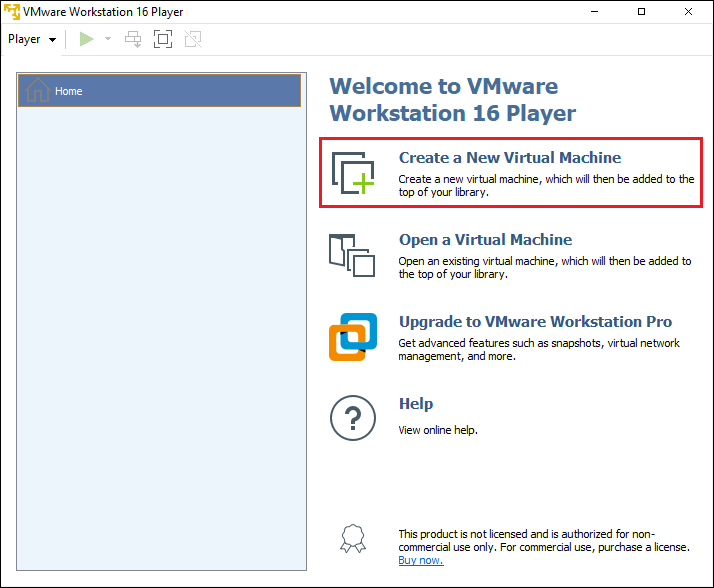
In VMware Workstation Player, click Create a New Virtual Machine:

-
In the “New Virtual Machine Wizard” window that opens, select I will install the operating system later:
-
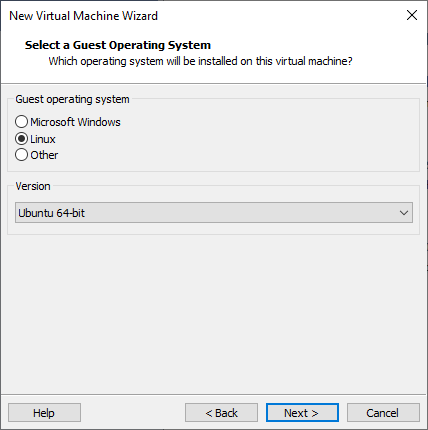
Select the guest operating system. For that purpose, select Linux and Ubuntu 64-bit:
-
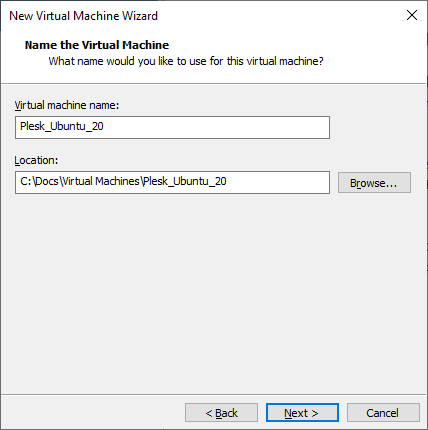
Specify a name for the virtual server and choose the location for storing files:
-
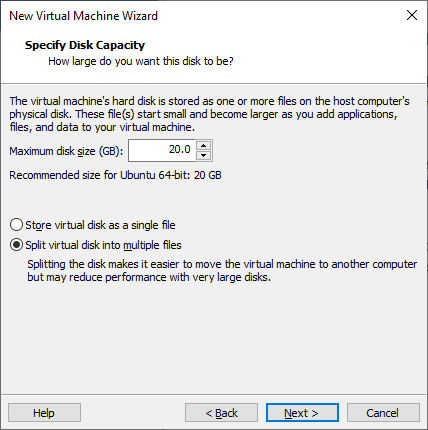
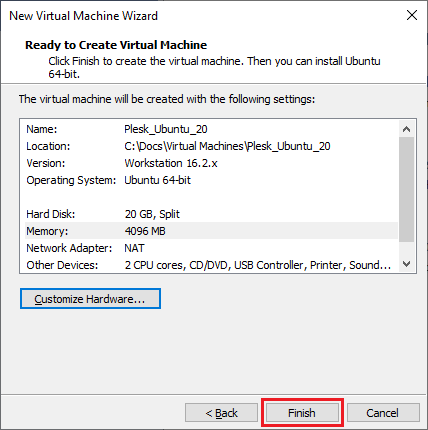
Specify the size of the disk for the virtual server:
For more information about the disk size requirements, see the Hardware Requirements.
-
Click Finish.
Now the new virtual server is created.
Note: By default, the NAT network type is used. It means that the virtual network adapter shares the host’s IP address. These settings may not fit the requirements of your network infrastructure. For more information, refer to the VMware Workstation Player documentation or contact the VMware support team.
-
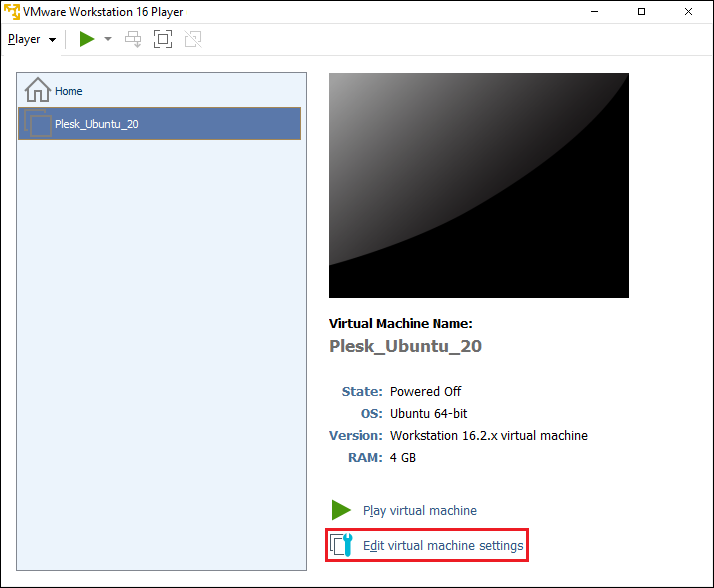
Сonfigure the virtual server’s parameters by clicking Edit virtual machine settings:
-
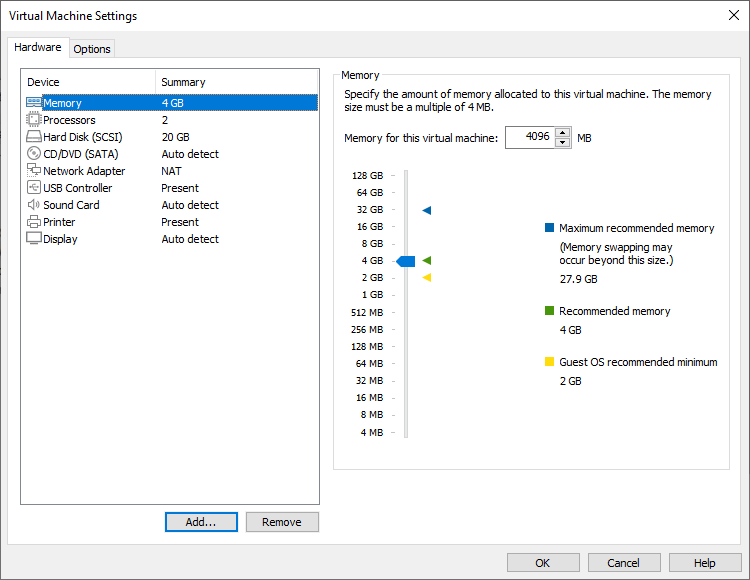
Add a hard drive with the Plesk image in the VMDK format. For that purpose, in the virtual machine settings, click Add:
-
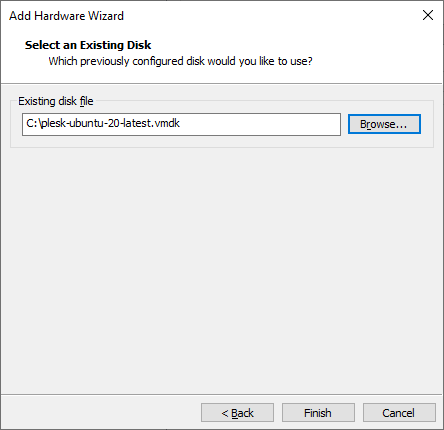
In the “Add Hardware Wizard” window, configure the parameters as follows:
-
“Hardware types”: Hard Disk
-
“Virtual disk type”: SCSI
-
“Disk”: Use an existing virtual disk
-
“Existing disk file”: select the Plesk image in the VMDK format:
Note: We recommend that you place the QCOW2 image to the directory of the virtual server or create a separate directory with virtual disks.
-
-
Click Finish.
-
Select the hard disk created by default and click Remove.
-
Click OK to save your changes.
-
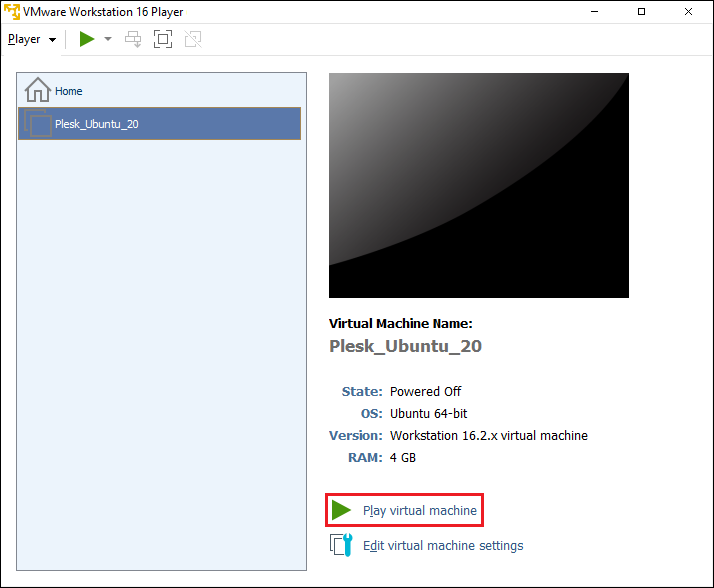
Power on the virtual machine you have created by clicking Play virtual machine:
-
Select Ubuntu and press ENTER:

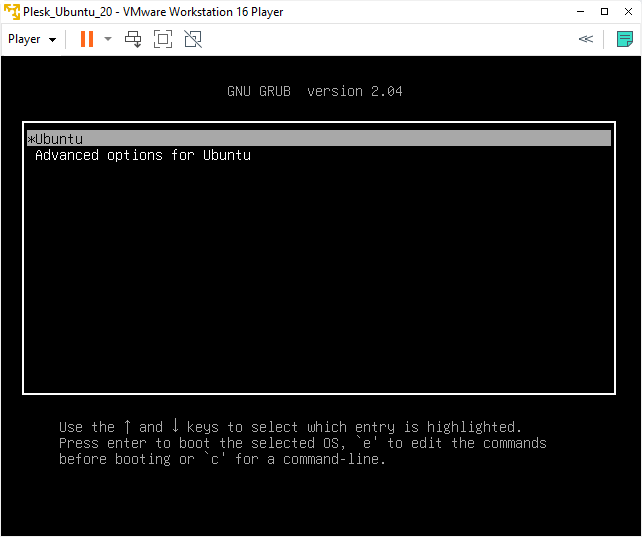
Wait till the operating system and Plesk are deployed.
Logging in to the Created Virtual Machine
A virtual machine with Plesk created from a converted QCOW2 image does not have a preconfigured SSH password. There are two ways to log in to the virtual machine:
-
Boot into recovery mode and set the
rootpassword. You need to do this for every virtual machine with Plesk you create. -
Use the “cloud-init” utility shipped with the Plesk QCOW2 image to preconfigure the server and set the
rootpassword. For example, you can use the “NoCloud” datasource to create an ISO image or a virtual hard drive containing theuser-datafile. Connect this ISO image or a virtual hard drive to the virtual machine before booting it up, and thecloud-initutility should configure the SSH user so that you can log in. You can then use that ISO image or a virtual hard drive with every virtual machine you create.