在 VirtualBox 上部署Plesk
summary: In this topic, you will learn how to deploy Plesk from a QCOW2 image on Oracle VirtualBox.
We will use Plesk running on Ubuntu 22 as an example, but you can also deploy Plesk running on CentOS 7 the same way.
Deploying Plesk Using a Converted QCOW2 Image
To deploy Plesk on VirtualBox using a QCOW2 image converted to the VMDK format, create a virtual server. Here’s how to do it:
-
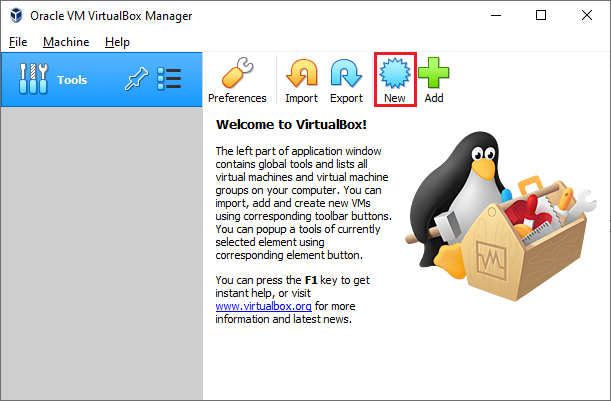
在 VirtualBox 中点击 新建 图标:

-
在“创建虚拟机”窗口中,指定虚拟机和操作系统的名称,以及内存大小:
有关内存要求的更多信息,请参见`硬件要求<https://docs.plesk.com/release-notes/obsidian/hardware-requirements/>`__。
-
选择**使用现有的虚拟硬盘文件**,然后单击|QCOW2_VB_Use_Existing_VDF_Icon| 图标。
-
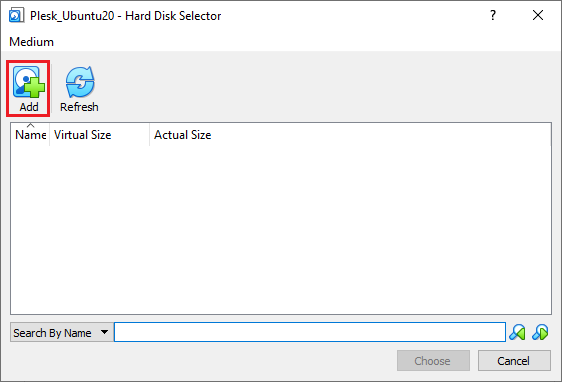
在“硬盘选择器”窗口中,点击**添加**:
-
Select the QCOW2 image you downloaded and converted to the VMDK format, and then click Choose.
-
点击 Create (创建)。
-
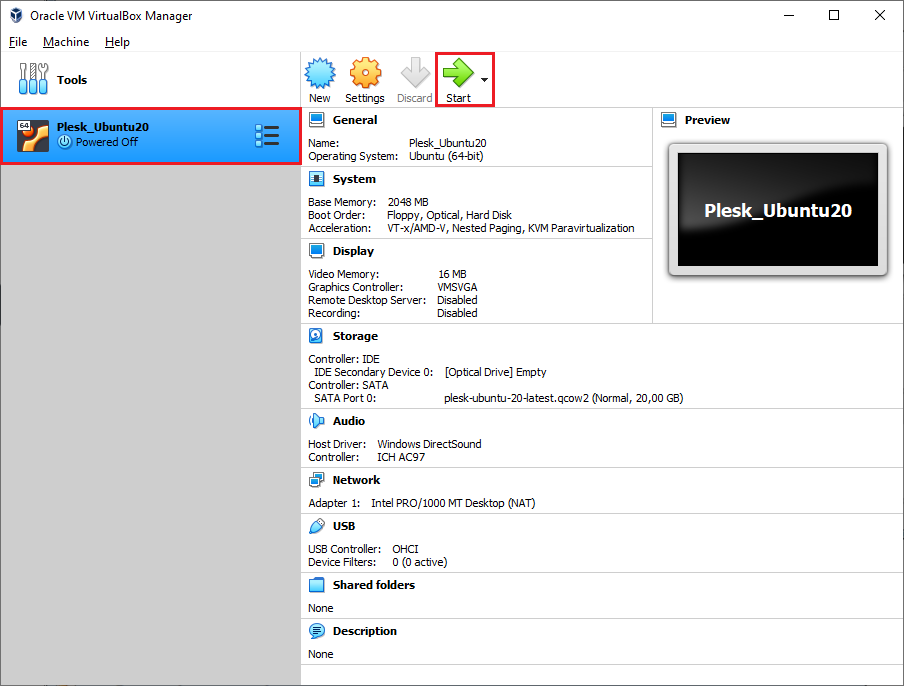
单击**启动**,打开已创建的虚拟机:
-
选择**Ubuntu**,然后按ENTER键:

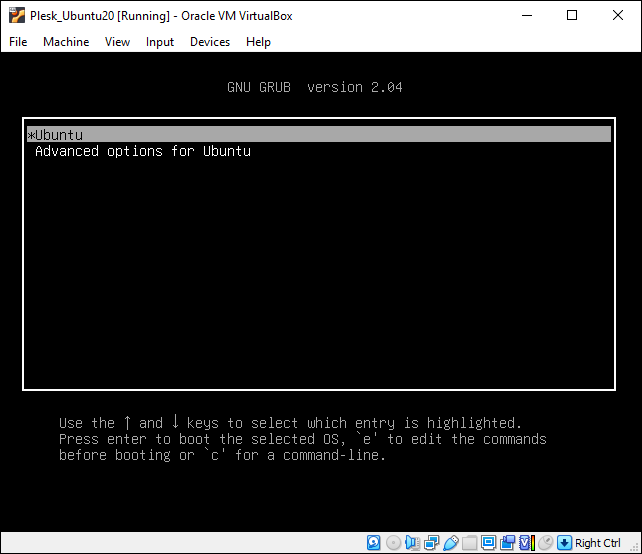
等候直到部署好操作系统和Plesk。
Logging in to the Created Virtual Machine
A virtual machine with Plesk created from a converted QCOW2 image does not have a preconfigured SSH password. There are two ways to log in to the virtual machine:
-
Boot into recovery mode and set the
rootpassword. You need to do this for every virtual machine with Plesk you create. -
Use the “cloud-init” utility shipped with the Plesk QCOW2 image to preconfigure the server and set the
rootpassword. For example, you can use the “NoCloud” datasource to create an ISO image or a virtual hard drive containing theuser-datafile. Connect this ISO image or a virtual hard drive to the virtual machine before booting it up, and thecloud-initutility should configure the SSH user so that you can log in. You can then use that ISO image or a virtual hard drive with every virtual machine you create.