Uploading Content with File Manager
summary: File Manager is a built-in Plesk tool. You can use it to upload your website’s content to the Plesk server, and also to perform various operations on your website’s files and directories, all from the Plesk interface.
In this topic, you will learn how to upload files to the Plesk server using File Manager. You will also learn how to extract the contents from compressed files, how to edit files, and also how to search for files using File Manager.
To upload a website using File Manager:
-
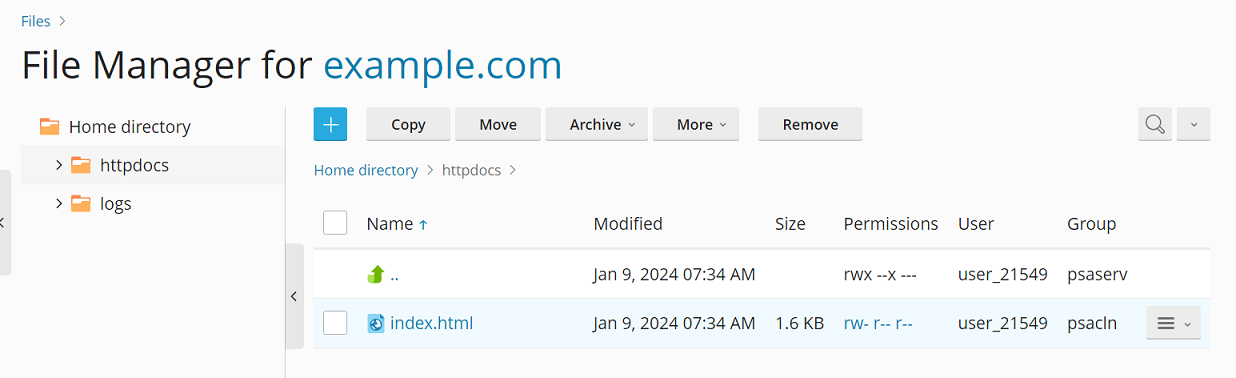
Go to Websites & Domains > domain name > Files.
-
Click the
 button and then do the following:
-
To upload a single file, click Upload File, locate, and then select the file you want to upload.
-
To upload a single file, multiple files, or a directory with the files therein, click Upload Directory and then drag files or directories to the dashed line box.
-
To upload a file not from your computer but from another website or FTP server, click Import file via URL, specify the the URL of the file, and then click Import. For example, the URL can be
https://example.com/image.pngorftps://user:password@example.com/example.tar.Note: By default, you cannot upload files larger than two gigabytes. If your Plesk account has administrator privileges, you can change the maximum upload size.
Note: File Manager supports the following protocols for file import: HTTP, HTTPS, FTP, and FTPS. Depending on the protocol, the user name and password in the URL path can be either optional or mandatory.
You have uploaded the file. If it was an archive, you have two more steps left.
-
-
Click the row corresponding to the archive and then click Extract Files. If the directory contains files whose names match those packed in the archive, select the “Replace existing files” checkbox. The unpacked files will then replace those in the directory.
-
Click OK.
Note: File Manager can extract files from the following archive formats: ZIP, RAR, TAR, TGZ, and TAR.GZ.
Editing Files in File Manager
By default, you can edit pages of your website in File Manager by using:
- HTML editor, a WYSIWYG editor, which automatically adds the necessary HTML tags. You can use this editor if you are not familiar with HTML.
- Code editor, which opens HTML files as text files and highlights HTML syntax. Best suited for those who want to add HTML tags manually.
- Text editor, which opens HTML files as plain text.
If you have installed the Rich Editor extension, you can also use it to edit HTML files in File Manager. Rich Editor is a WYSIWYG editor like Code Editor but with more features (for example, built-in spellchecker).
To edit a file in File Manager:
- Hover over the file. The corresponding line will become highlighted.
- Click to open the file’s context menu.
- Click Edit in … Editor (the button name depends on the editor you want to use).
Searching for Files in File Manager
In File Manager, you can search for files by searching for a text in
filename only, content only, or both.
To choose how to search for files, click the ![]() icon
next to the search field and then click the desired search type.
icon
next to the search field and then click the desired search type.
If your Plesk account has administrator privileges, you can also speed up the search by limiting the search scope when searching for content in content only and in filename and content by:
- Excluding large files.
- (Plesk for Windows) Excluding binary files.
These changes will take effect immediately, and will apply to every user on the Plesk server.
To exclude files whose size is larger than the specified value (in bytes) from the search by content:
Add the following lines to the panel.ini file:
[fileManager]
search.maxScannedContentSize =
For example, if you add the following lines to the panel.ini file, files larger than 20 MB will be skipped during search by content:
[fileManager]
search.maxScannedContentSize = 20971520
(Plesk for Windows) To exclude binary files from the search by content:
Add the following lines to the panel.ini file:
[fileManager]
search.winExcludeExtensions =
For example, if you add the following lines to the panel.ini file, EXE and JPG files will be excluded from the search:
[fileManager]
search.winExcludeExtensions = exe
search.winExcludeExtensions = jpg
Here is a full list of file extensions, which you can use with the search.winExcludeExtensions setting: exe, jpg, jpeg, png, bmp, ico, img, doc, docx, xls, xlsx, 7z, rar, tar, bz2, gzip, zip.
Note: When adding the search.winExcludeExtensions setting to panel.ini, specify only one file extension per line. To make it easier, you can use the Panel.ini Editor extension.